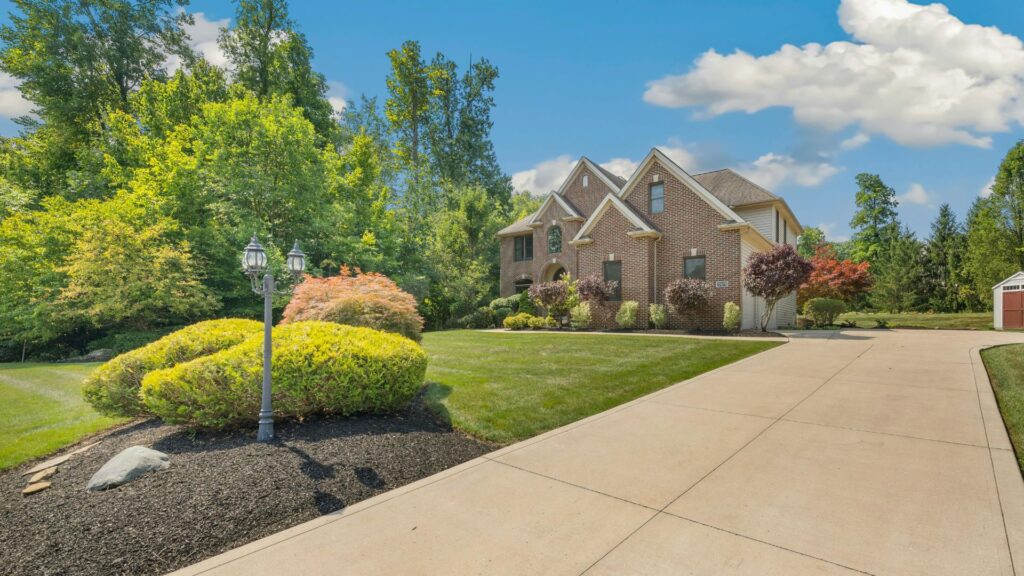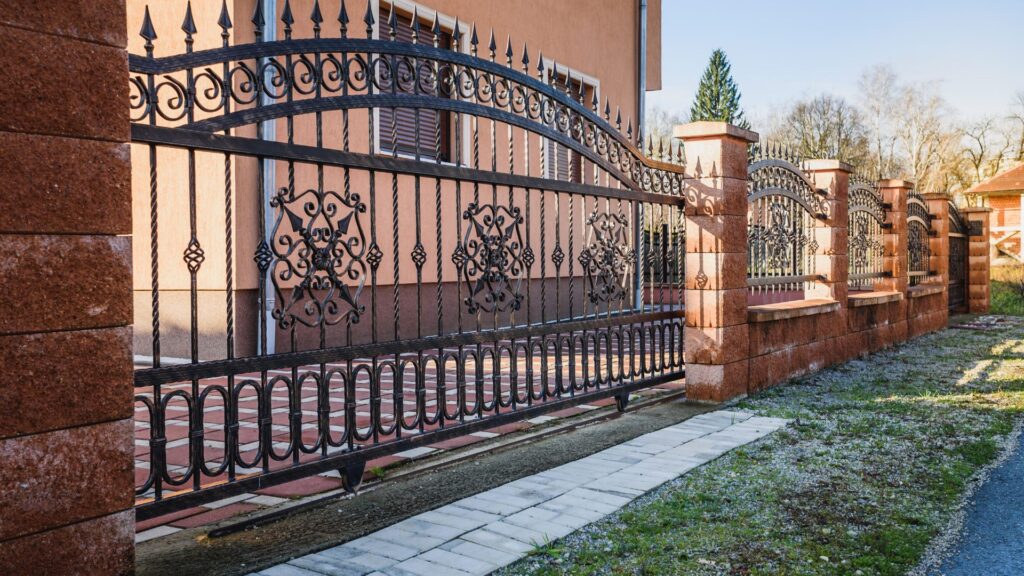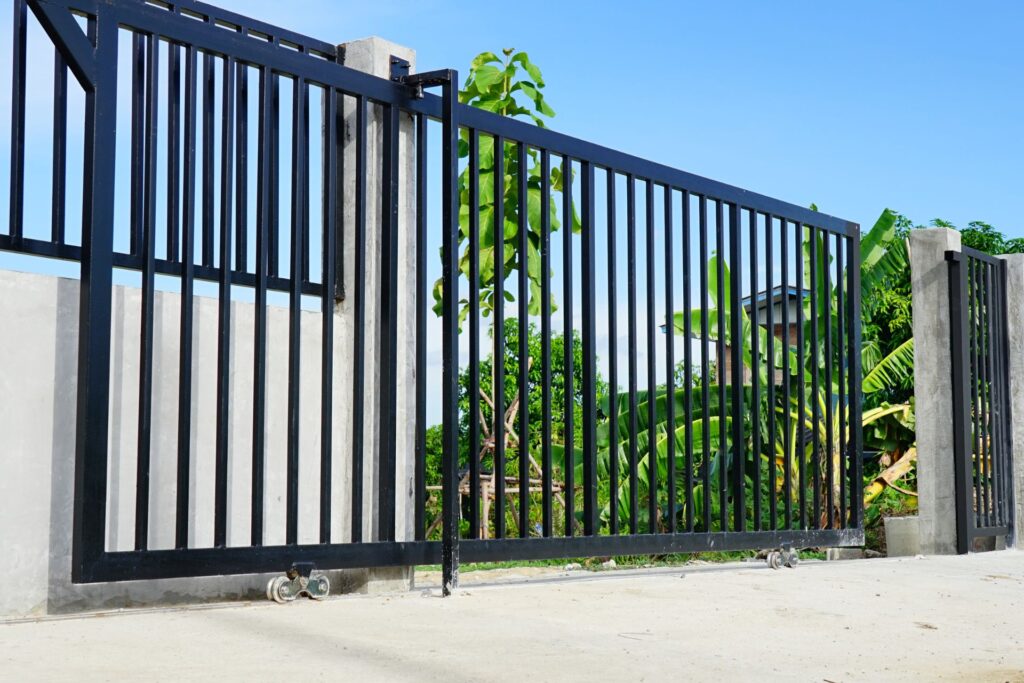
Aluminum fencing is a popular choice for those looking to install a fence around their property. It is durable, low-maintenance, and can be customized to fit any style or design. However, installing an aluminum fence can be a daunting task, especially for those who have never done it before. In this article, we will provide a step-by-step guide on how to install an aluminum fence.
Understanding the basics of aluminum fencing is crucial before starting the installation process. Aluminum fences are made up of panels and posts that are connected using brackets and screws. These fences are lightweight and easy to install, making them a popular choice for DIY enthusiasts. Aluminum fences are also resistant to rust and corrosion, making them ideal for outdoor use.
Before starting the installation process, it is important to gather all the necessary tools and materials. These include a post hole digger, level, measuring tape, drill, screws, and brackets. It is also important to check with local authorities regarding any zoning regulations or permits that may be required. Once all the necessary preparations have been made, the installation process can begin.
Key Takeaways
- Understanding the basics of aluminum fencing is crucial before starting the installation process.
- Gathering all the necessary tools and materials is important before beginning the installation process.
- Checking with local authorities regarding zoning regulations or permits is important before installing an aluminum fence.
Understanding Aluminium Fencing
Aluminium fencing is a popular choice for homeowners and businesses alike due to its durability, low maintenance requirements, and affordability. It is a lightweight and corrosion-resistant material that can withstand harsh weather conditions and resist rust and decay.
Advantages of Aluminium Fencing
One of the main advantages of aluminium fencing is its versatility. It can be easily customized to suit different styles and designs, making it an ideal choice for both residential and commercial properties. It can also be painted in a variety of colors to match the existing color scheme of the property.
Another advantage of aluminium fencing is its strength. It is a sturdy material that can withstand high winds and heavy impacts, making it a safe and secure option for perimeter fencing. It is also resistant to pests and does not rot or warp over time.
Installation of Aluminium Fencing
The installation of aluminium fencing is a relatively simple process that can be completed by a professional or a DIY enthusiast. The first step is to measure the area where the fence will be installed and determine the amount of material required.
Once the material has been ordered, the next step is to prepare the area for installation. This may involve clearing any obstacles or debris from the area and ensuring that the ground is level and stable.
The fence panels are then attached to the posts using screws or brackets, and the posts are anchored into the ground using concrete or other suitable materials. The final step is to add any finishing touches, such as decorative caps or post caps, to complete the installation.
Maintenance of Aluminium Fencing
One of the key benefits of aluminium fencing is its low maintenance requirements. Unlike other materials, such as wood or iron, aluminium does not require regular painting or staining to maintain its appearance.
To keep the fence looking its best, it is recommended to clean it periodically with soap and water to remove any dirt or debris. Additionally, any scratches or dents can be easily repaired using a touch-up paint kit.
Overall, aluminium fencing is a durable, affordable, and versatile option for both residential and commercial properties. With proper installation and maintenance, it can provide a safe and secure perimeter for years to come.
Benefits of Aluminium Fencing
Aluminium fencing is becoming increasingly popular among homeowners, and for good reason. Here are some of the benefits of installing an aluminium fence:
Easy to Install
One of the biggest advantages of aluminium fencing is that it is easy to install. Lightweight and easy to handle, aluminium fencing can be installed quickly and easily, making it an ideal choice for DIY enthusiasts. Unlike other types of fencing, aluminium fencing does not require heavy machinery or specialized tools, which can save you time and money.
Long Lasting
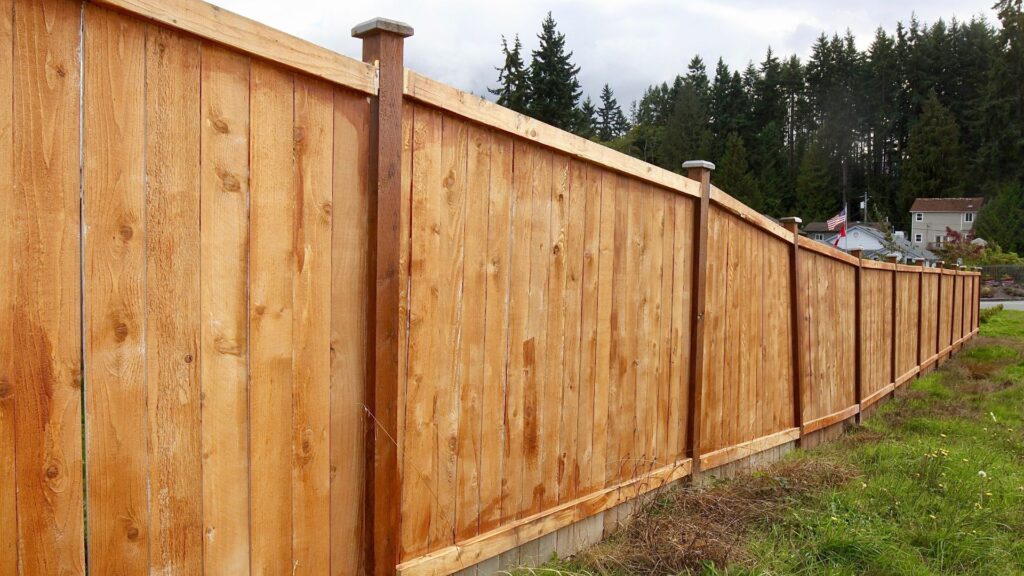
Aluminium fencing is incredibly durable and long lasting. Unlike wood fencing, which is prone to rotting, warping, and insect damage, aluminium fencing is resistant to the elements and will not rust, fade, or corrode over time. This means that an aluminium fence will last for many years, providing you with a reliable and attractive barrier around your property.
Affordable
Another advantage of aluminium fencing is that it is affordable. While it may cost more than some other types of fencing, such as wood or vinyl, aluminium fencing is still a cost-effective option in the long run. Because it is so durable and long lasting, you will not need to replace your aluminium fence as often as you would with other types of fencing, which can save you money over time.
Security
Aluminium fencing is also a great choice for homeowners who are concerned about security. Because it is so strong and durable, an aluminium fence can provide a high level of security, deterring intruders and keeping your property safe. Additionally, many aluminium fences come with locking mechanisms that make it difficult for unauthorized individuals to gain access to your property.
Privacy
Finally, aluminium fencing can also provide a high level of privacy. With its solid construction and lack of gaps, an aluminium fence can effectively block the view of your property from passersby, providing you with the privacy you need to enjoy your outdoor space. Additionally, many aluminium fences can be customized to include decorative elements that can enhance the overall look of your property.
Necessary Tools and Materials
Installing an aluminium fence requires specific tools and materials to ensure a successful installation. Here are some of the necessary tools and materials:
Tools
- Post hole digger
- Shovel
- Tape measure
- Level
- Drill
- Phillips screwdriver or a cordless drill/screwdriver with the right bit
- Hacksaw
- String line
- Wooden stakes for each corner, end, and gate post location
Fence Panels
Fence panels are available in various styles and designs. When choosing the fence panel, it is essential to consider the design that matches the property’s overall style and the purpose of the fence. Protector Aluminium fence panels with a double top rail design are a popular choice among homeowners.
Posts
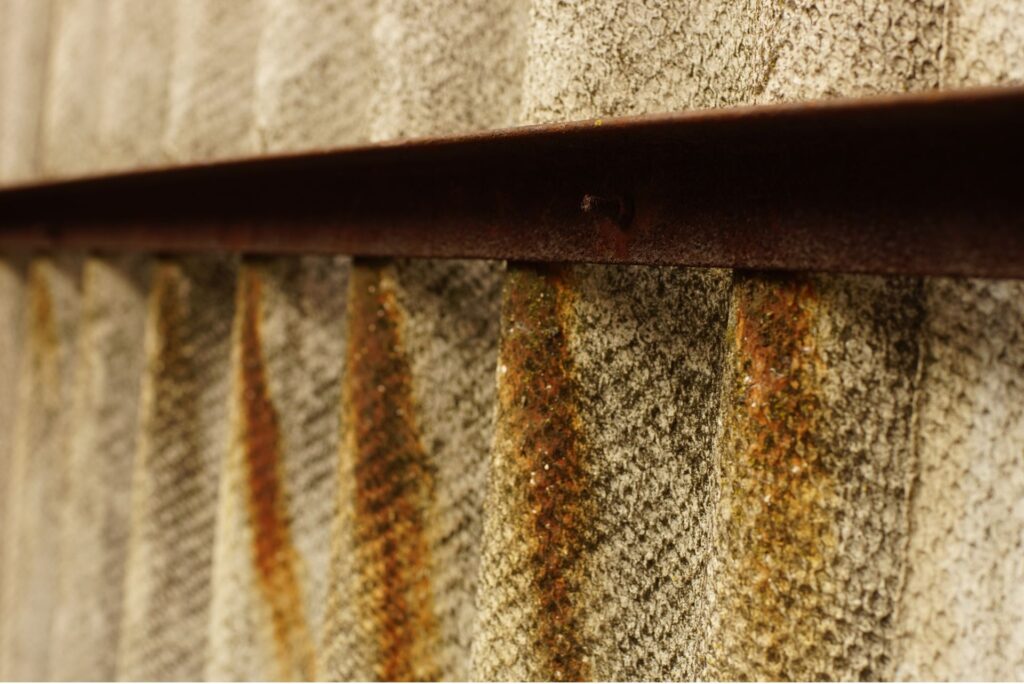
Fence posts should be made of steel and treated with a rustproof coating to ensure durability. The length of the post will depend on the height of the fence. To cut aluminium fence posts to length, a 1.5mm stainless steel grinding wheel can be used for a clean cut, or a hacksaw can be used.
Concrete
Concrete is essential to ensure the longevity of the aluminium fence. It will ensure that fence posts are firmly affixed to the ground. The amount of concrete required will depend on the size of the fence and the number of posts.
Brackets
Fence post brackets are necessary to attach the fence panels to the fence posts. Self-tapping screws can be used to attach the brackets to the posts and panels.
In conclusion, installing an aluminium fence requires specific tools and materials to ensure a successful installation. It is essential to choose the right fence panel design that matches the property’s overall style and purpose. The fence posts should be made of steel and treated with a rustproof coating to ensure durability. Concrete is necessary to ensure the longevity of the fence, and fence post brackets are necessary to attach the fence panels to the fence posts.
Pre-Installation Preparations
Before installing an aluminium fence, it is essential to perform some pre-installation preparations. These preparations will help ensure that the installation process goes smoothly and that the fence is installed correctly. Below are some crucial pre-installation preparations:
Property Check
Before installing a fence, it is important to check the property lines. Property lines determine where the fence can be installed. It is vital to ensure that the fence is installed within the property lines, as installing the fence outside the property lines can result in legal issues.
Building Permit
In some cases, a building permit may be required before installing a fence. It is important to check with the local building department to determine whether a permit is required. If a permit is required, it is essential to obtain it before starting the installation process.
Underground Utilities
Before digging any holes for the fence posts, it is important to check for any underground utilities. Underground utilities can include gas, electricity, or water mains. It is essential to call the local council to get information about the location of underground utilities. This will help avoid any damage to the utilities during the installation process.
Fence Layout
It is important to have a clear plan for the fence layout before starting the installation process. This includes determining the location of the fence posts, gates, and any other accessories. A clear plan will help ensure that the fence is installed correctly and that it meets the desired specifications.
Measurement
Accurate measurement is crucial for the installation of an aluminium fence. It is important to measure the area where the fence will be installed accurately. This includes measuring the length of the fence, the distance between the fence posts, and the height of the fence. Accurate measurement will help ensure that the fence is installed correctly and that it meets the desired specifications.
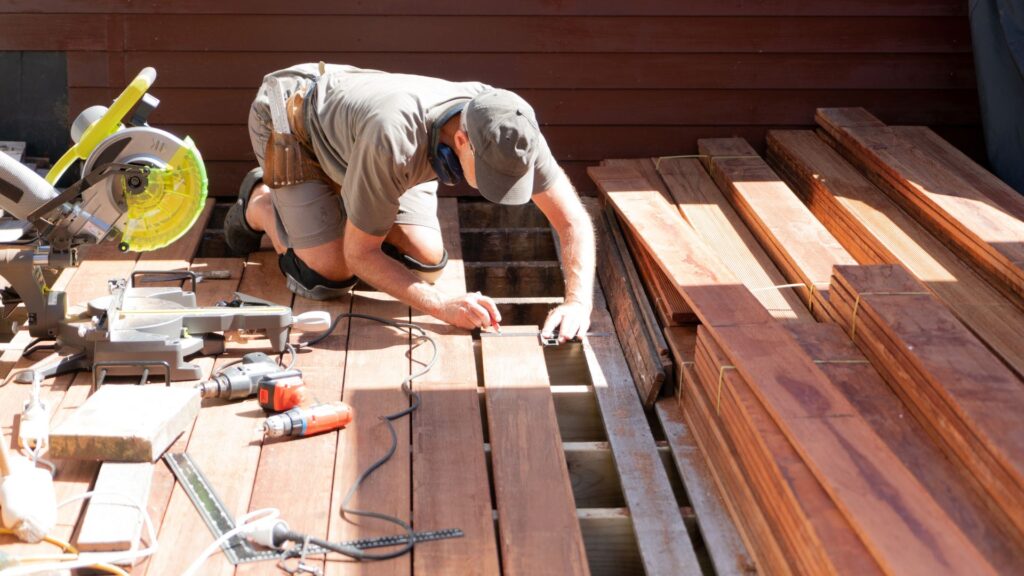
Digging the Post Holes
The first step in installing an aluminum fence is to dig the post holes. The size of the post holes will depend on the size of the posts and the type of soil in which they are being installed. A post hole digger is the most common tool used for digging post holes, but a power auger can also be used for larger projects.
Before digging the post holes, it is important to mark out the fence line. This can be done by using stakes and a string line. Once the fence line is marked out, the post holes can be dug at the appropriate intervals.
It is recommended to dig the post holes to a depth of approximately one-third of the total height of the post. For example, if the post is six feet tall, the hole should be dug to a depth of two feet.
After the post holes have been dug, it is important to add gravel to the bottom of the holes. This will help with drainage and prevent the posts from sinking into the ground over time. The amount of gravel needed will depend on the size of the post hole.
Once the gravel has been added, the posts can be inserted into the holes. It is important to ensure that the posts are level and plumb before filling the holes with concrete. This can be done by using a level and a plumb line.
In summary, digging the post holes is an important part of installing an aluminum fence. A post hole digger or power auger can be used to dig the holes, and gravel should be added to the bottom of the holes for drainage. The posts should be level and plumb before filling the holes with concrete.

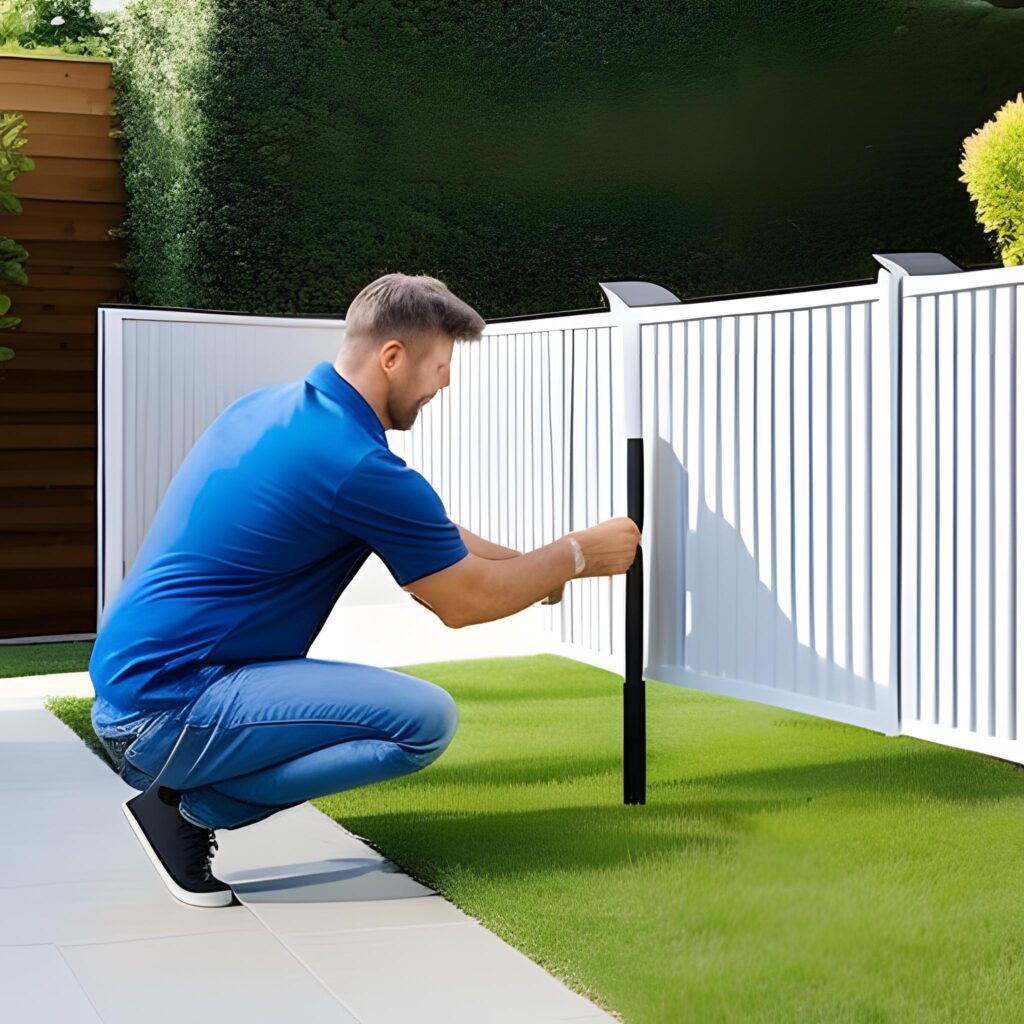
Installing the Posts
The first step in installing an aluminium fence is to install the fence posts. Fence posts are the foundation of the fence and must be installed correctly to ensure the fence is stable and secure.
There are different types of fence posts, such as line posts, end posts, corner posts, and gate posts. The type of post required will depend on the fence design and layout. It is important to follow the fence manufacturer’s instructions for post spacing and placement.
Before installing the posts, it is important to determine the level of the ground. The fence must be installed on level ground to ensure a straight and even fence. Use a level to check the ground and adjust the post placement as necessary.
To install the posts, follow these steps:
- Dig the post holes: Using a post hole digger, dig the holes for the fence posts. The size of the hole will depend on the size of the post. Refer to the fence manufacturer’s instructions for the recommended hole size.
- Set the posts: Place the post in the hole and fill the hole with concrete. Use a level to ensure the post is straight and level. Allow the concrete to dry according to the manufacturer’s instructions before continuing with the fence installation.
- Attach the rails: Once the posts are set and the concrete is dry, attach the fence rails to the posts. Refer to the fence manufacturer’s instructions for rail placement and attachment.
- Install the gate posts: Gate posts require extra support to handle the weight of the gate. Follow the fence manufacturer’s instructions for gate post installation.
By following these steps, the fence posts will be installed correctly, ensuring a stable and secure fence.
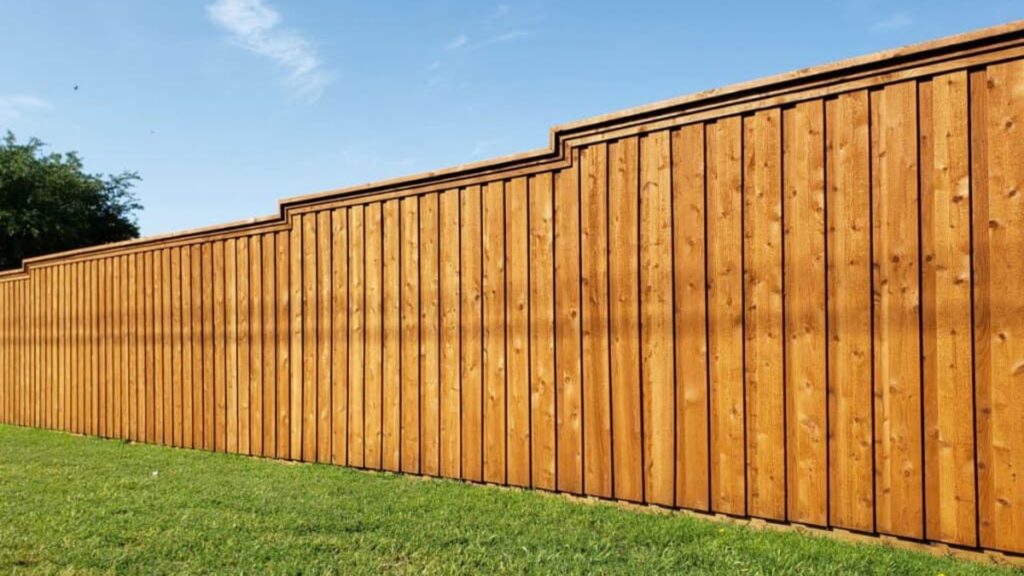
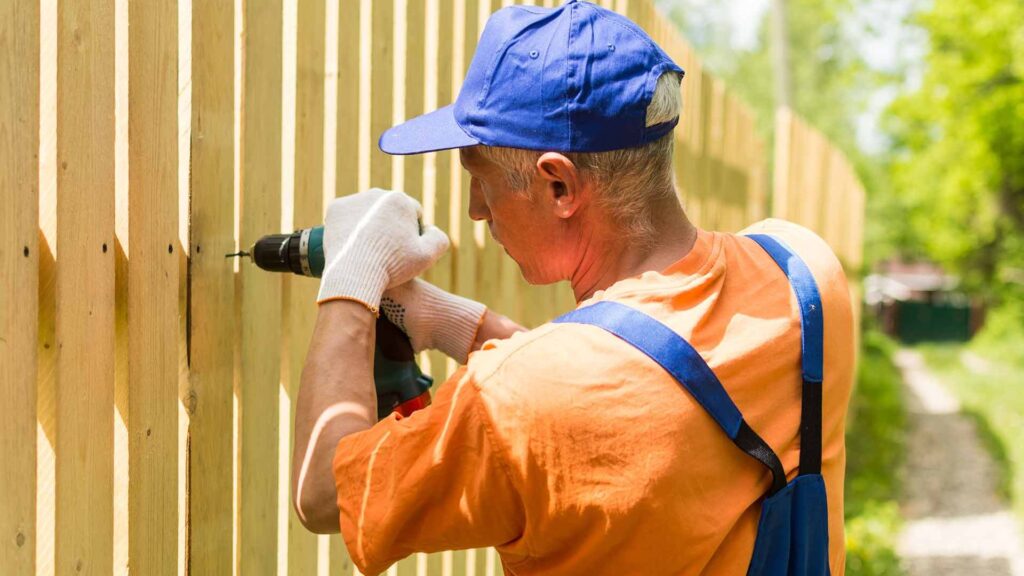
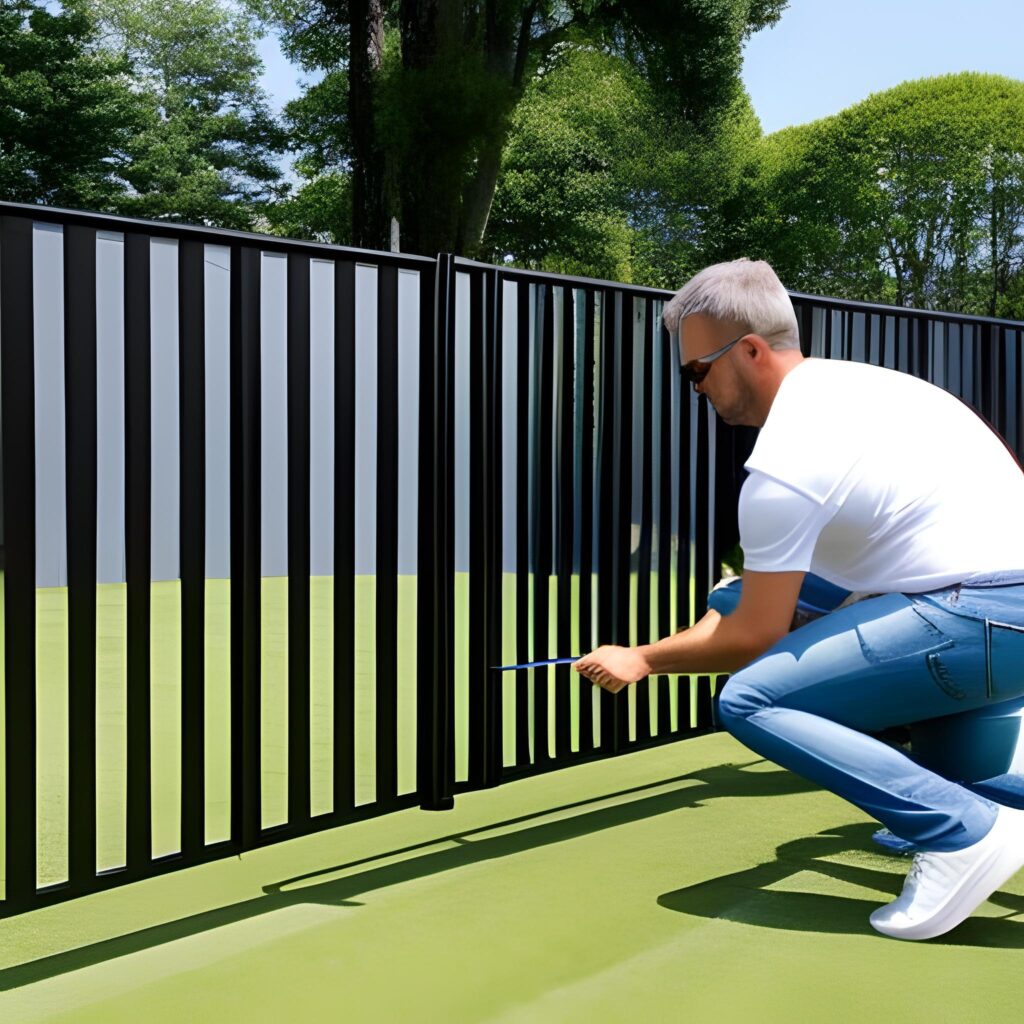
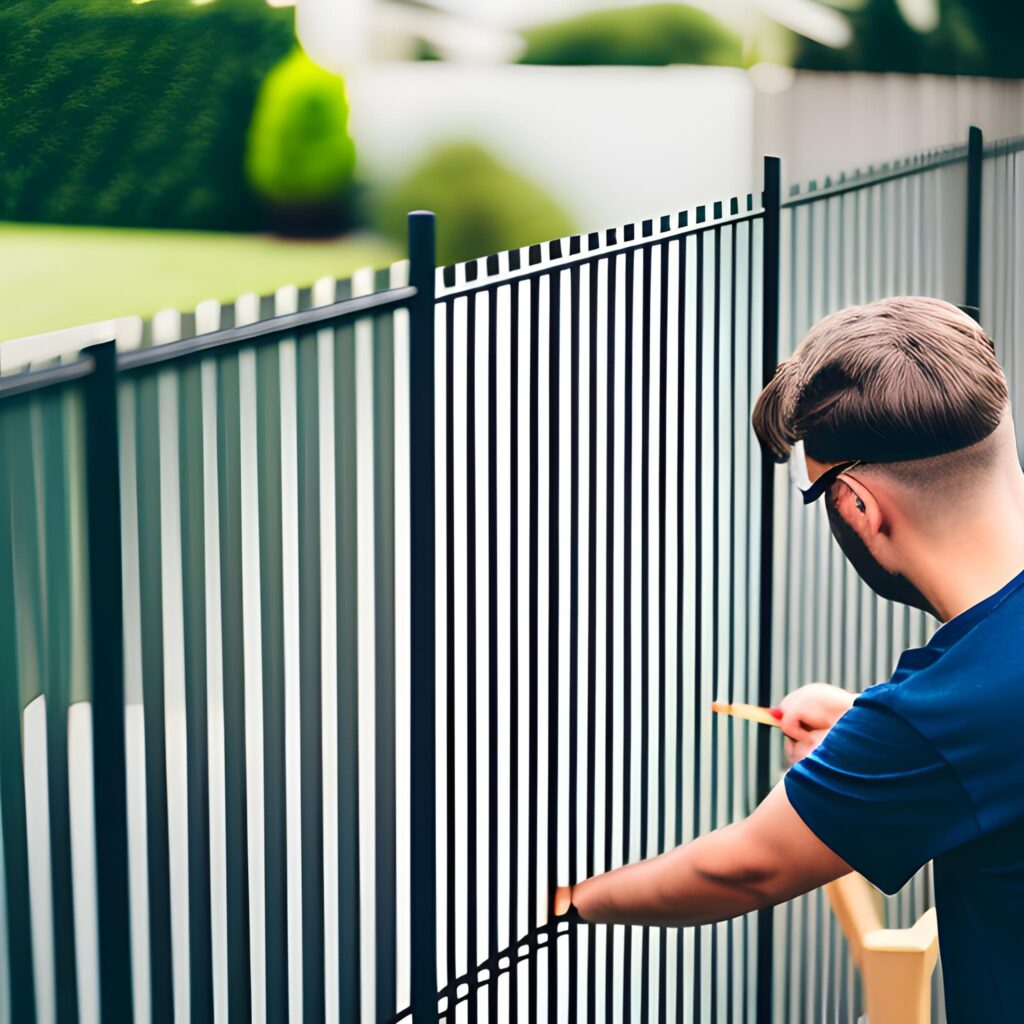
Attaching the Fence Panels
Once the line posts are in place, it’s time to attach the fence panels. Aluminum fence panels are typically pre-assembled, so the process is relatively simple.
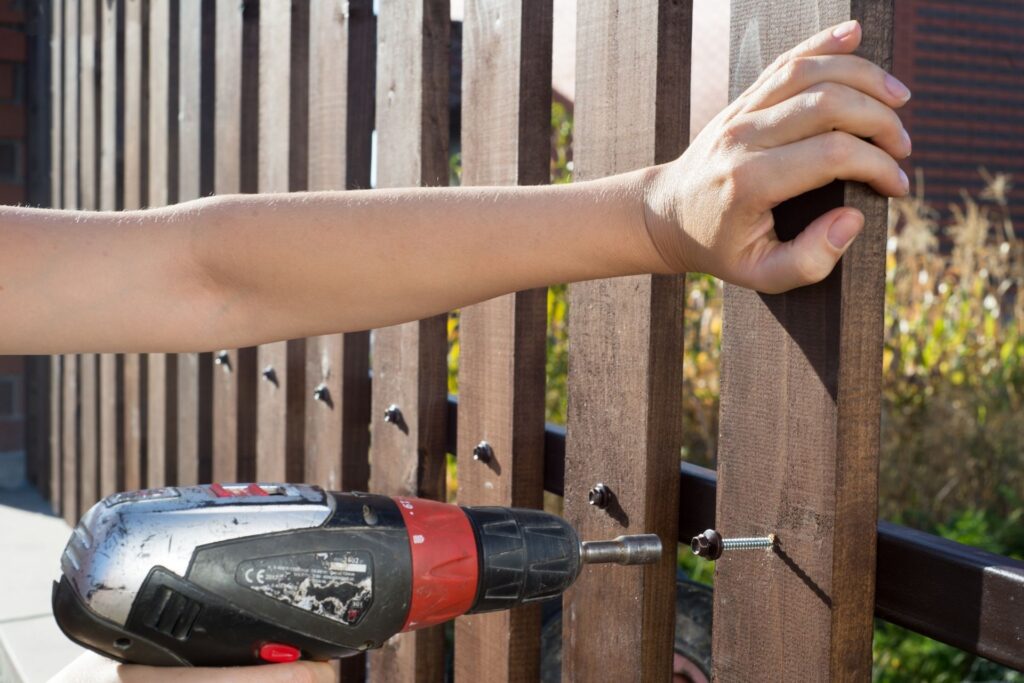
First, slide the brackets onto the posts. The brackets should be positioned so that they line up with the holes in the fence panels. Once the brackets are in place, attach the fence panels to the brackets using the provided screws.
It’s important to make sure that the fence panels are level and aligned properly. Use a level to ensure that each panel is straight, and make any necessary adjustments before tightening the screws.
When attaching the fence panels, it’s important to maintain an even spacing between them. This will ensure that the fence looks uniform and professional. The exact spacing will depend on the size of the panels and the style of the fence, so refer to the manufacturer’s instructions for guidance.
Once all of the fence panels are attached, double-check that everything is level and aligned properly. Make any necessary adjustments before moving on to the next step.
Attaching the fence panels is a critical step in the installation process. With a little care and attention to detail, you can ensure that your aluminum fence looks great and functions properly for years to come.
Dealing with Slopes
When installing an aluminum fence on a slope, there are several options available to ensure a uniform and secure installation. A slope can be either uphill or downhill, and the degree of the slope can vary. Here are some methods to consider:
Raking
Raking is the most common method used to install aluminum fences on slopes. It involves installing the fence panels at an angle, so they follow the slope of the ground. This method ensures that there are no gaps between the fence and the ground, providing a uniform look. Raking can be done with both straight and curved fence panels.
Stepping
Stepping involves installing the fence panels horizontally, with each panel stepping up or down as the ground slopes. This method is suitable for gentle slopes, but it can result in large gaps between the fence and the ground on steeper slopes.
Combination of Raking and Stepping
A combination of raking and stepping can be used to install an aluminum fence on a slope. This method involves using raked panels on the steeper parts of the slope and stepped panels on the gentler slopes. This method provides a uniform look while minimizing gaps between the fence and the ground.
Considerations
When installing an aluminum fence on a slope, it is essential to consider the degree of the slope and the type of fence panel being used. Some fence panels are designed to be raked, while others can only be stepped. It is also important to ensure that the fence posts are installed correctly, as they provide the foundation for the fence.
In conclusion, installing an aluminum fence on a slope requires careful planning and consideration. Raking, stepping, or a combination of both can be used to ensure a uniform and secure installation. It is important to choose the appropriate fence panel and to ensure that the fence posts are installed correctly.
Installing the Gates
Installing the gates is an important part of the aluminium fence installation process. The gate should be installed after the fence panels have been installed and the posts have been set. The gate should be installed with the same care and attention as the fence panels.
Before installing the gate, make sure that the gate hinges and latches are compatible with the gate and that they are installed correctly. The gate hinges and latches should be installed according to the instructions provided with the gate and the hardware.
When installing the gate, make sure that the gate-posts are set in the correct position allowing clearance for the hinges and latches and clearance between double gates. The gate-posts should be set in concrete and allowed to set before installing the gate.
When installing the gate hardware, make sure that the hardware is installed securely and that it is adjusted properly. The Magna Latch is a popular option for gate hardware and should be installed according to the manufacturer’s instructions.
It is important to test the gate and make sure that it is working properly before completing the installation. The gate should swing freely and the latch should engage properly. If there are any issues with the gate or the gate hardware, they should be addressed before completing the installation.
In summary, installing the gate is an important part of the aluminium fence installation process. The gate should be installed with the same care and attention as the fence panels. Make sure that the gate hinges and latches are compatible with the gate and that they are installed correctly. Test the gate and make sure that it is working properly before completing the installation.
Finishing Touches
After installing the fence panels and ensuring their stability, it is time to add some finishing touches to the aluminum fence. These touches will not only enhance the appearance of the fence but also provide some extra security features.
One of the essential finishing touches is the post cap. The post cap is a decorative element that sits on top of the fence posts. It provides a finished look to the fence and protects the post from water damage. There are various post cap designs available in the market, including flat, ball, and pyramid-shaped caps. Choose a design that complements the overall look of the fence.
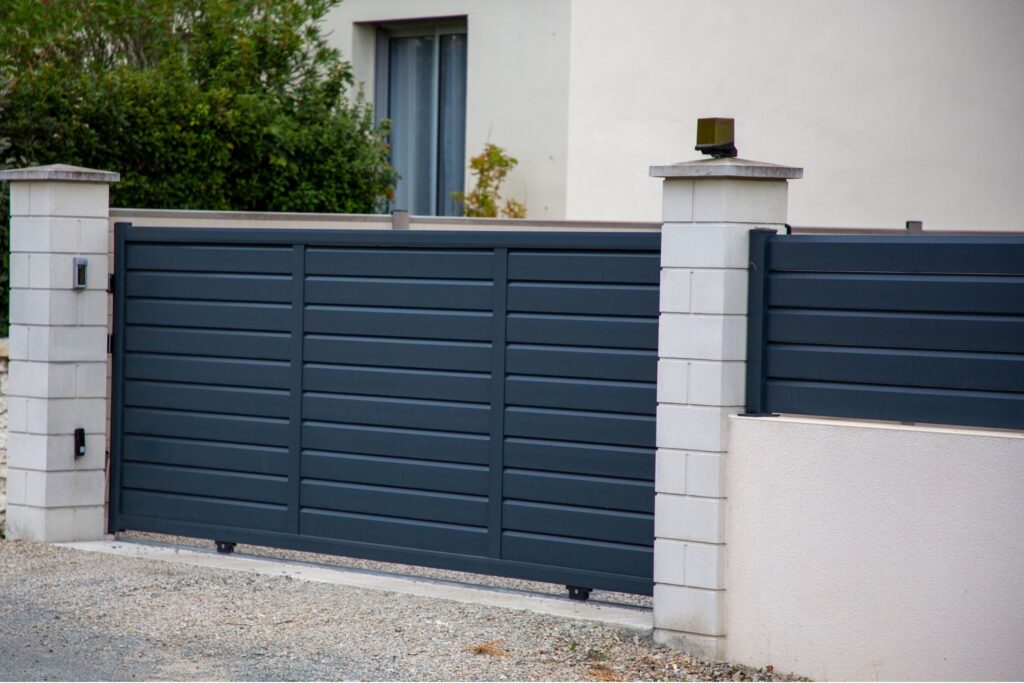
Another way to enhance the appearance of the fence is by using black aluminum fence panels. Black fence panels give a modern and sleek look to the fence. They also complement the surrounding landscape and make the fence stand out.
If the fence panels are too long, they can be cut down to size using a saw. Make sure to measure the fence panels accurately and cut them down to the required size. This will ensure that the fence fits perfectly in the designated area.
For those who prefer a more ornamental look, there are various products available in the market that can be added to the fence. These products include decorative scrolls, finials, and rings. These products can be attached to the fence panels and provide an ornate appearance to the fence.
Overall, the finishing touches are an essential part of the aluminum fence installation process. They not only enhance the appearance of the fence but also provide some extra security features. Choose the finishing touches that complement the overall look of the fence and make it stand out.
Maintenance and Care
Once the aluminium fence is installed, it is important to maintain it properly to ensure it lasts for a long time. Aluminium fences are known for their durability, but proper maintenance can make them last even longer.
Cleaning
Aluminium fences are relatively easy to clean. Regular cleaning helps to keep the fence looking new and free of dirt and grime. A mild, non-abrasive soap and water can be used to clean the fence. A soft-bristled brush or sponge can be used to scrub the fence gently. Rinse the fence with a hose to remove any soap residue.
Inspection
Regular inspection of the fence is also important. Check for any damage or loose parts, such as screws or bolts. Tighten any loose parts and replace any damaged parts as soon as possible. This will help to prevent further damage and ensure the fence is secure.
Maintenance
Maintenance of the fence is important to keep it looking new and functioning properly. Powder-coated aluminium fences do not require painting, but if the fence is scratched or damaged, touch-up paint can be used to prevent rust. The fence should be inspected and cleaned at least once a year to ensure it is in good condition.
Long Lasting Investment
Proper maintenance of an aluminium fence can make it last for many years. Aluminium fences are a long-lasting investment that can add value to a property. Regular maintenance can help to ensure the fence remains in good condition and continues to look great.
Overall, aluminium fences are a durable and low-maintenance option for homeowners. With proper care and maintenance, they can last for many years and continue to look great.
Frequently Asked Questions
What are the steps to install aluminum fence panels?
Aluminum fence panels are typically installed by first marking out the fence line with a string line, followed by digging holes for the fence posts. Once the posts are in place, the panels can be attached using brackets. It is important to ensure that the panels are level and properly aligned before attaching them to the posts.
Can aluminum fence be installed on concrete?
Yes, aluminum fence can be installed on concrete. This is typically done by drilling holes in the concrete and then using anchors to secure the fence posts in place. It is important to ensure that the holes are drilled to the correct depth and that the anchors are properly installed to ensure a secure installation.
How to install metal fence panels?
The process for installing metal fence panels is similar to that of aluminum fence panels. The panels are typically attached to the fence posts using brackets, and it is important to ensure that they are level and properly aligned before attaching them to the posts.
What is the process for installing aluminum fence posts?
The process for installing aluminum fence posts typically involves digging holes for the posts, setting the posts in concrete, and allowing the concrete to dry before attaching the fence panels. It is important to ensure that the posts are properly aligned and level before setting them in concrete to ensure a secure installation.
How to install aluminum fence on a sloped yard?
When installing aluminum fence on a sloped yard, it is important to ensure that the fence panels are properly aligned and level. This can be achieved by using fence panels that are designed to accommodate sloped terrain, or by cutting the panels to fit the slope of the yard.
Is it feasible to install an aluminum fence without professional help?
While it is possible to install an aluminum fence without professional help, it is generally recommended to hire a professional to ensure that the fence is properly installed and meets local building codes and regulations. Professional installers have the knowledge and experience necessary to ensure a secure and long-lasting installation. Contact today for quality aluminum fencing services in Auckland.
About the Author:
Mike Veail is a recognized digital marketing expert with over 6 years of experience in helping tradespeople and small businesses thrive online. A former quantity surveyor, Mike combines deep industry knowledge with hands-on expertise in SEO and Google Ads. His marketing strategies are tailored to the specific needs of the trades sector, helping businesses increase visibility and generate more leads through proven, ethical methods.
Mike has successfully partnered with numerous companies, establishing a track record of delivering measurable results. His work has been featured across various platforms that showcase his expertise in lead generation and online marketing for the trades sector.
Learn more about Mike's experience and services at https://theleadguy.online or follow him on social media: