Welcome to your ultimate guide on how to build a gate with horizontal slats! Whether you’re looking to enhance your home’s curb appeal, add a touch of modern elegance, or simply increase your property’s security and privacy, building a gate with horizontal slats is a fantastic DIY project that combines functionality with style. In this comprehensive step-by-step guide, we’ll walk you through everything you need to know, from selecting the right materials and tools to the final finishing touches. With easy-to-follow instructions and practical tips, you’ll have a stunning and durable gate that not only looks great but also stands the test of time. Let’s get started on transforming your outdoor space with a beautiful, custom-built gate!
To build a gate with horizontal slats, start by measuring the gate opening and designing your gate with accurate dimensions. Gather materials such as wood for the slats, screws, hinges, and a latch. Construct the frame by cutting and assembling the top, bottom, and side pieces, ensuring the frame is square. Attach the horizontal slats starting from the bottom, using spacers for even gaps. Finally, install the hardware, including hinges and latch, and finish by sanding and staining or painting the gate for durability and aesthetics. Regular maintenance, such as tightening screws and reapplying finish, will keep your gate looking great for years.
Why Choose Horizontal Slats For Your Gate
When selecting a gate for your property, horizontal slats stand out as a superior choice. Here’s why:
Aesthetic Appeal
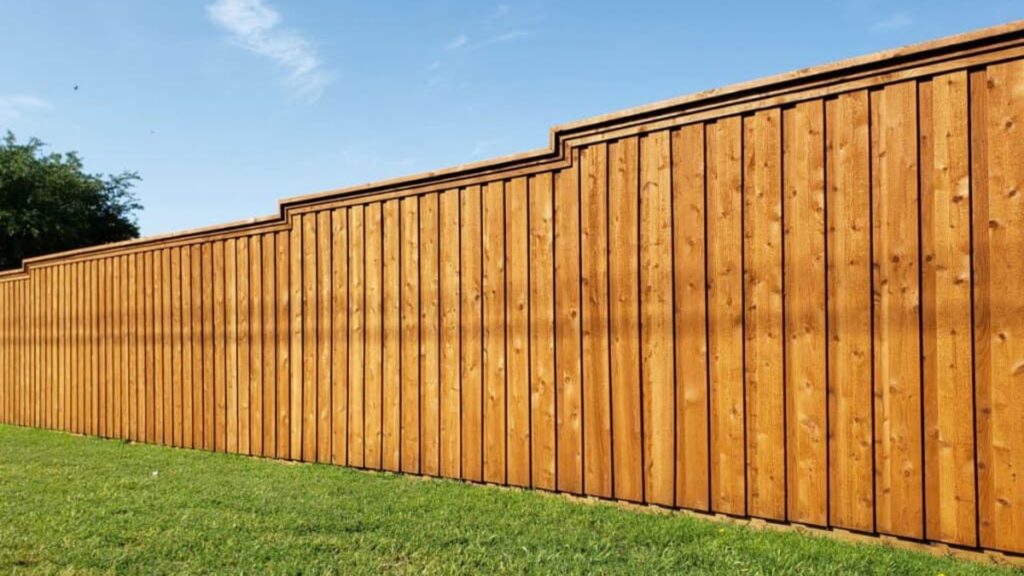
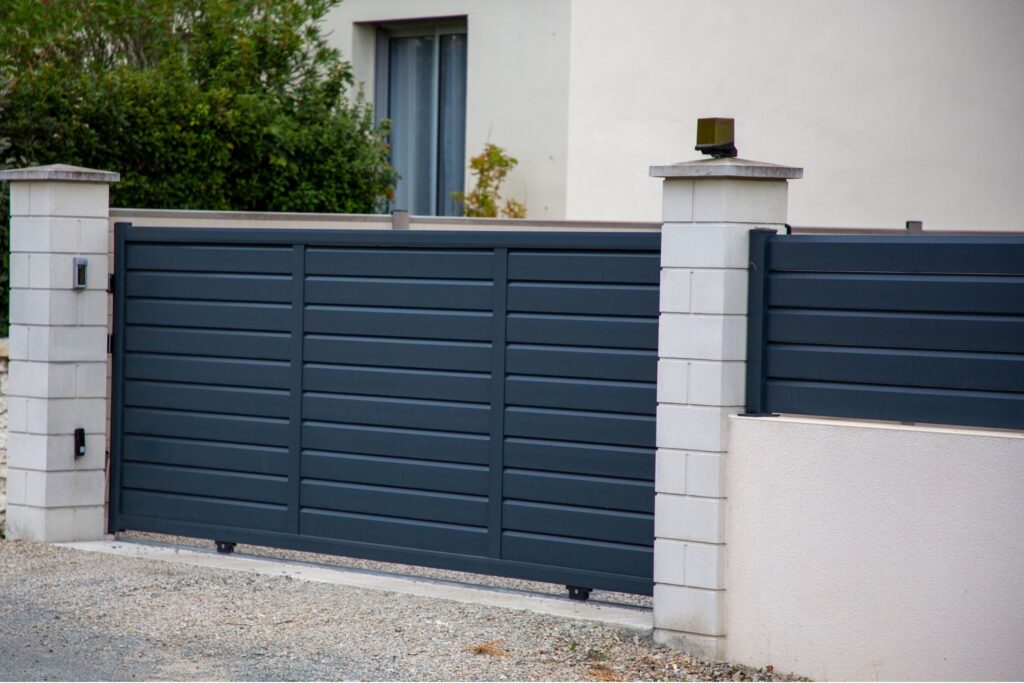
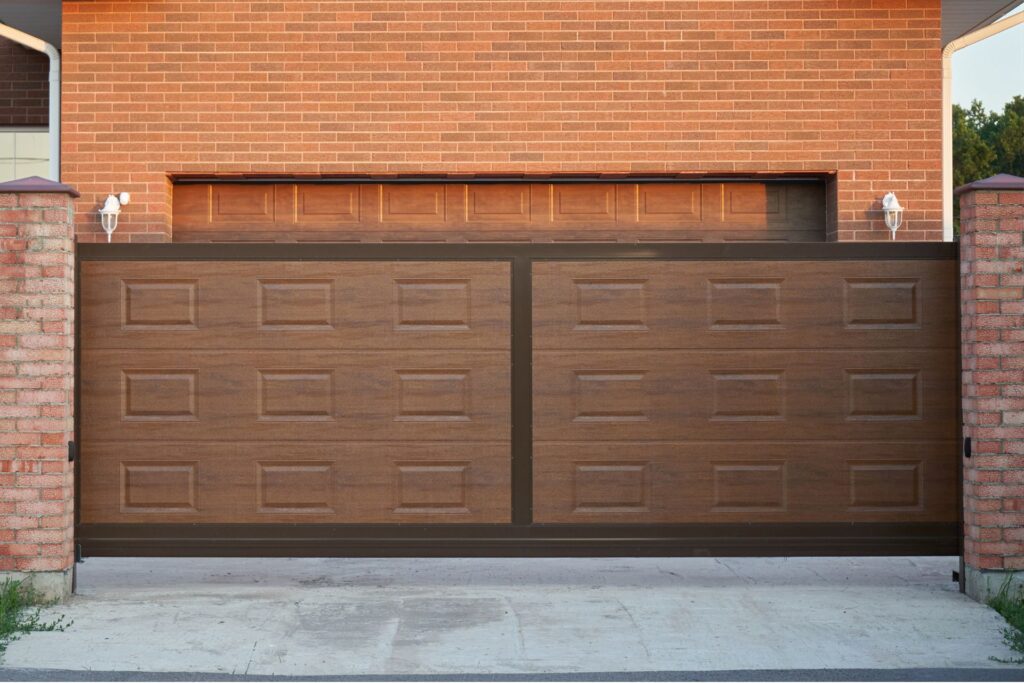
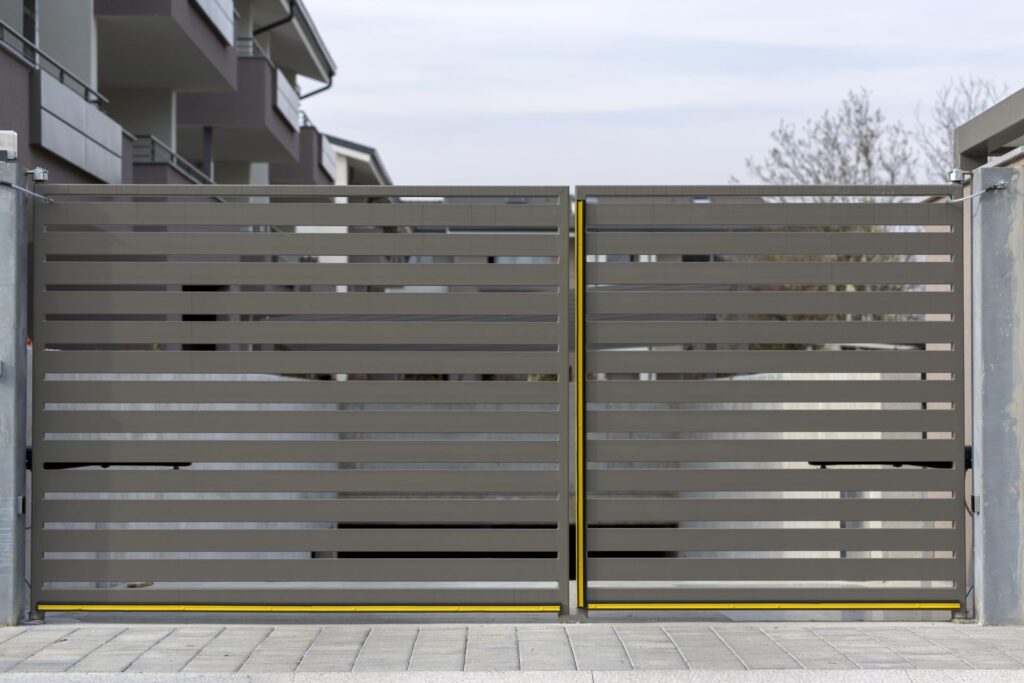
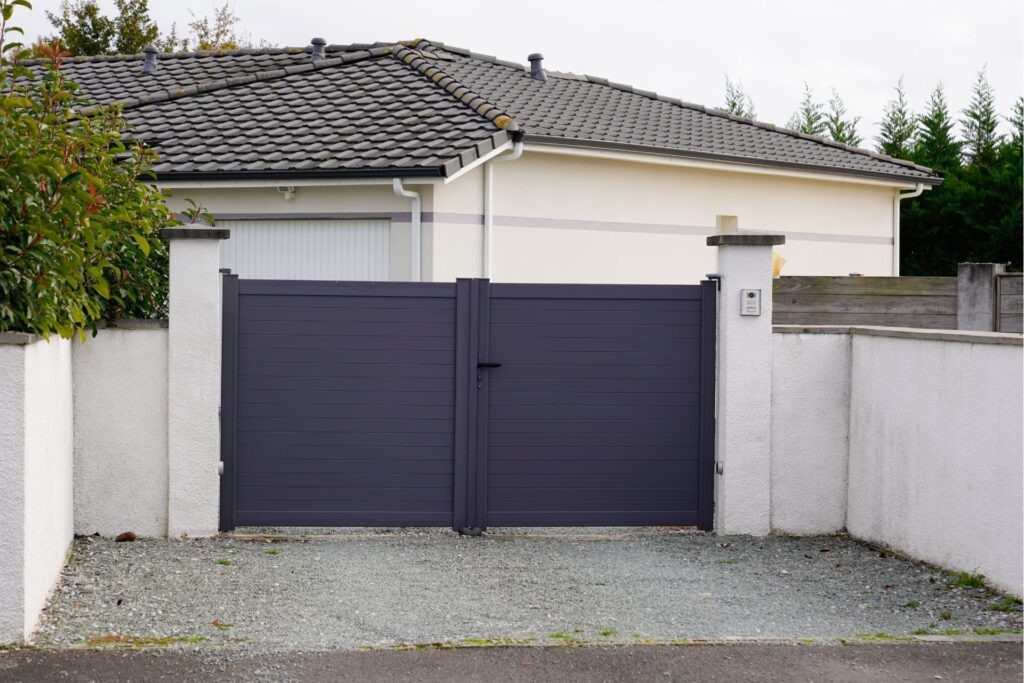
One of the foremost reasons to opt for horizontal slats is their aesthetic appeal. These slats offer a modern and sleek look that effortlessly enhances the overall appearance of your home. The clean, horizontal lines create a contemporary feel that can transform the look of your property. Whether your home boasts a modern architectural design or a more traditional style, horizontal slats can add a touch of elegance and sophistication. Their visually appealing nature can significantly boost your home’s curb appeal, making it stand out in the neighborhood.
Privacy and Security
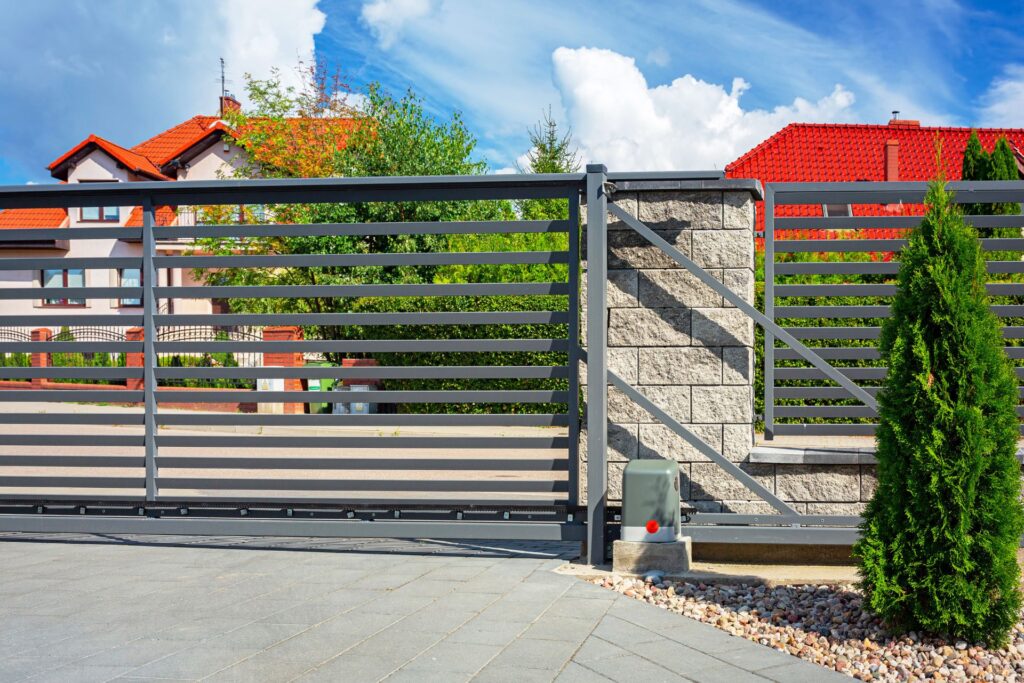
Privacy and security are paramount when choosing a gate, and horizontal slats excel in both areas. These gates provide an excellent balance of privacy without compromising on style. The slats are designed to obstruct the view from the outside, ensuring that your property remains private. At the same time, they allow enough light and air to pass through, preventing the gate from feeling too closed off.
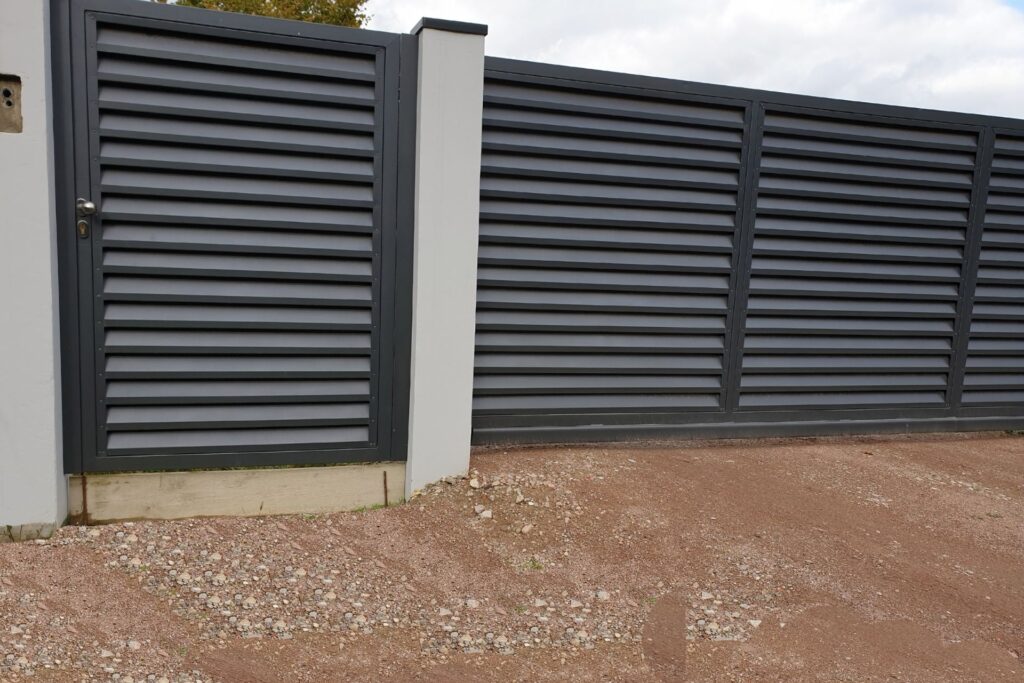
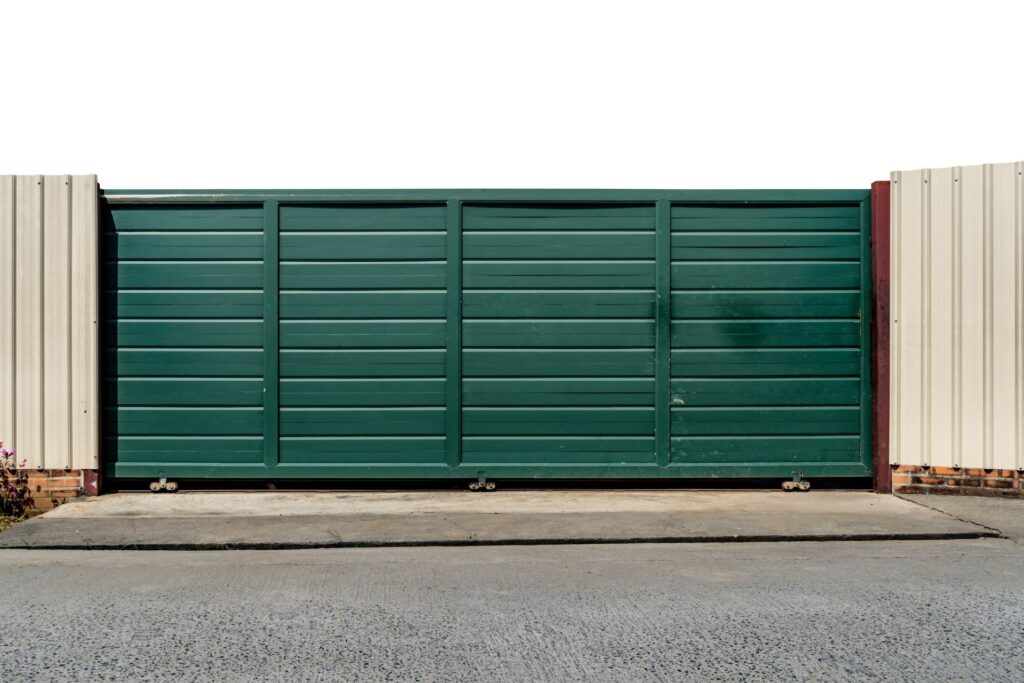
In terms of security, horizontal slats are known for their sturdy construction. They are typically made from robust materials such as metal or treated wood, ensuring durability and strength. This sturdy construction acts as a reliable barrier against intruders, giving you peace of mind knowing that your property is well-protected.
Versatility
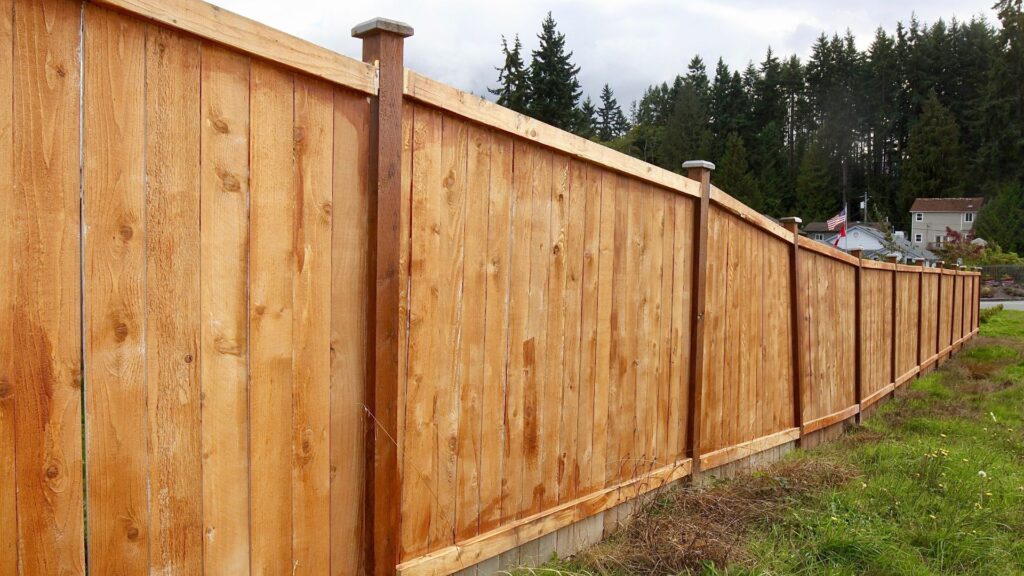
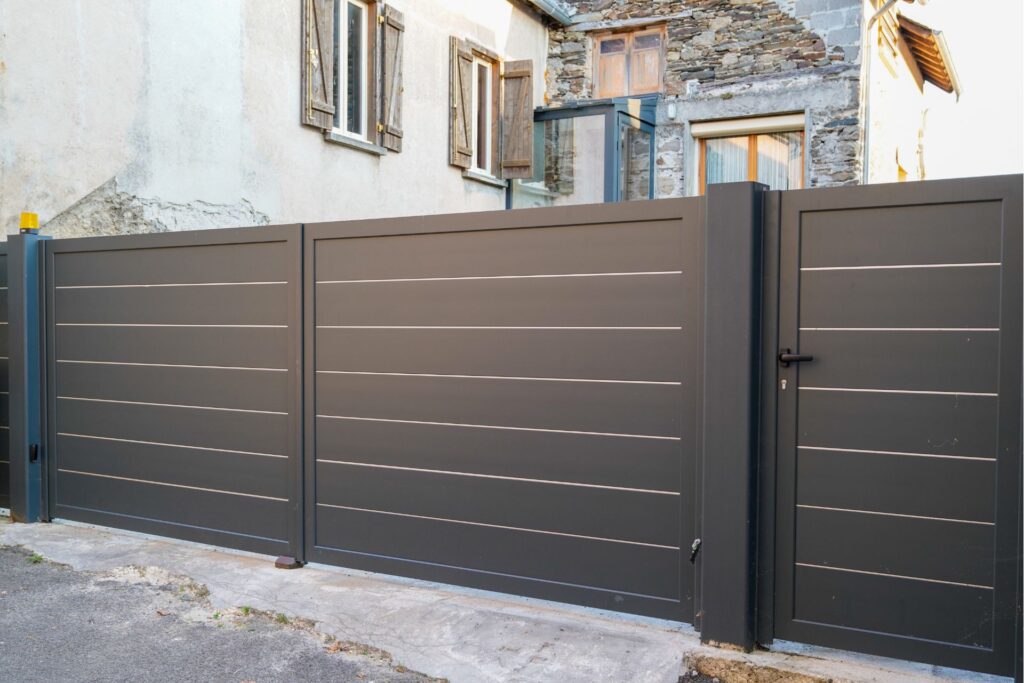
Another significant advantage of horizontal slats is their versatility. These gates can complement a wide range of architectural styles, from ultra-modern homes to classic, traditional residences. This adaptability makes horizontal slats a popular choice among homeowners who want a gate that blends seamlessly with their existing design.
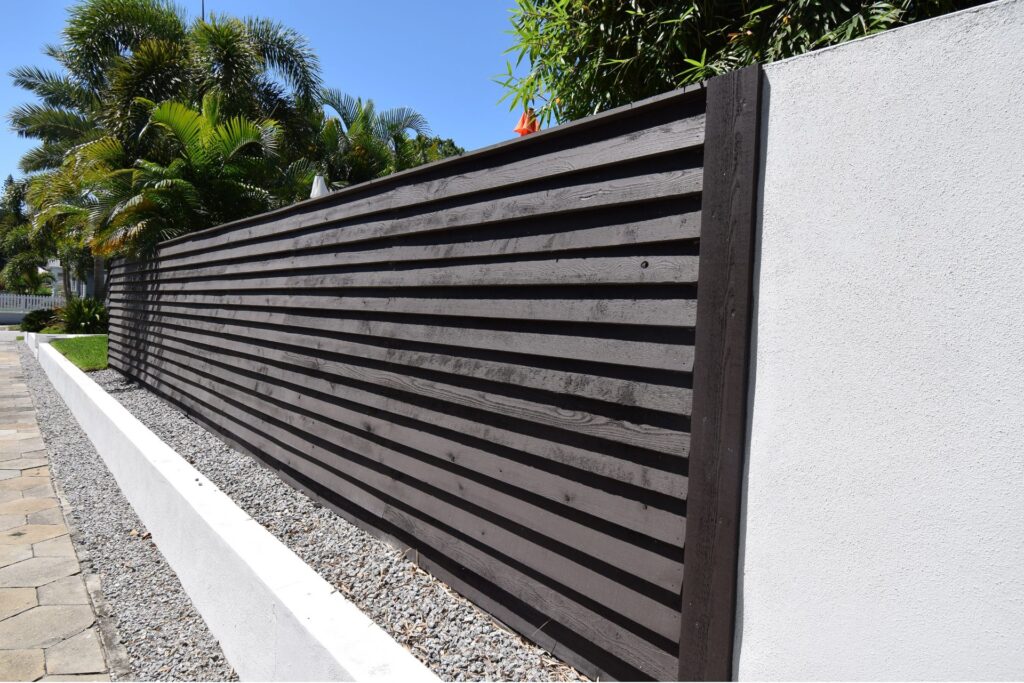
Moreover, horizontal slats are highly customizable. You can adjust the width and height of the slats to suit your specific needs and preferences. Whether you need a low gate for a welcoming entrance or a tall one for added security, horizontal slats can be tailored to fit perfectly. This flexibility ensures that your gate not only meets functional requirements but also aligns with your aesthetic vision.
Choosing horizontal slats for your gate is a decision that brings multiple benefits. From enhancing your property’s aesthetic appeal to providing essential privacy and security, these gates are a versatile and stylish option. Their ability to blend with various architectural styles and customizable features make them a practical and attractive choice for any homeowner. If you’re looking to upgrade your gate, consider horizontal slats for a modern, secure, and visually appealing solution.
Materials And Tools Needed
When embarking on your woodworking project, having the right materials and tools on hand is crucial for success. This section will guide you through everything you’ll need, ensuring your project runs smoothly from start to finish.
List of Materials
1. Types of Wood: Choosing the right type of wood is essential as it impacts the durability and appearance of your project. Popular choices include:
- Cedar: Known for its natural resistance to decay and insects, cedar is a great option for outdoor projects. Its rich color and pleasant aroma are added benefits.
- Pine: Pine is a versatile and affordable option, suitable for both indoor and outdoor projects. It’s easy to work with, making it ideal for beginners.
- Oak: Oak is a hardwood that provides strength and durability. It’s perfect for furniture and high-traffic items.
- Plywood: Often used for structural purposes, plywood is a cost-effective option that offers stability and ease of use.
2. Metal Frame (if applicable): Depending on the design of your project, a metal frame can provide additional support and durability. This is especially useful for larger constructions or outdoor furniture.
3. Screws, Nails, Hinges, Latch, and Handles: These small components are the backbone of any woodworking project. Ensure you have:
- Screws: For strong, durable joins.
- Nails: Useful for quick and easy fastening.
- Hinges: Essential for doors and moving parts.
- Latch and Handles: These add functionality and ease of use to your project.
4. Stain or Paint (optional): Adding a finish to your wood project can protect it from the elements and enhance its appearance. Choose a stain for a natural look or paint for a pop of color.
List of Tools
1. Saw (Circular or Miter): A saw is fundamental for cutting wood to the required sizes. A circular saw is versatile for straight cuts, while a miter saw is excellent for precise angled cuts.
2. Drill: An electric drill is indispensable for making holes and driving screws quickly and efficiently. Opt for a cordless model for greater flexibility.
3. Measuring Tape: Precision is key in woodworking. A reliable measuring tape ensures you cut and assemble pieces accurately.
4. Level: Keeping your project level is crucial for both functionality and aesthetics. A level helps you ensure all parts are aligned perfectly.
5. Screwdriver: While a drill can drive screws quickly, a screwdriver provides the control needed for delicate tasks or tight spaces.
6. Sandpaper: Smoothing rough edges and surfaces is essential for a professional finish. Sandpaper comes in various grits, so choose accordingly based on the level of smoothness required.
By gathering these materials and tools before you start, you’ll be well-prepared to tackle your woodworking project with confidence. Proper preparation not only saves time but also ensures the quality and durability of your finished piece.
Planning And Preparation
Measuring the Gate Opening
Accurate measurements are the foundation of a well-built gate. Start by measuring the width and height of the gate opening. Use a reliable tape measure and ensure it is level for precise readings.
- Width: Measure the distance between the two posts where the gate will be installed. Take measurements at the top, middle, and bottom to ensure uniformity, especially in older or uneven structures. Record the smallest measurement to ensure the gate fits without forcing.
- Height: Measure from the ground up to the desired height of the gate. If the ground is uneven, take multiple measurements along the width and use the highest point as your reference to avoid a gate that is too short.
When measuring, don’t forget to account for hardware. Leave space for the hinges and latch. Typically, hinges require about 2-3 cm on each side, and the latch might need a small gap for smooth operation.
Designing Your Gate
A well-designed gate adds both functionality and aesthetic appeal to your property. Begin by sketching your design ideas on paper. This helps in visualizing the final product and planning the materials needed.
- Sketching a Design: Start with a rough sketch, including dimensions based on your measurements. This drawing doesn’t need to be professional but should include all critical aspects like height, width, and any decorative elements you wish to add.
- Number of Slats and Spacing: Decide on the number of vertical slats your gate will have. This depends on the width of the gate and the desired spacing between slats. For a traditional look, keep slats evenly spaced. Consider using a spacer tool for consistent gaps. More slats with smaller gaps provide privacy, while fewer slats with larger gaps can create an open, airy feel.
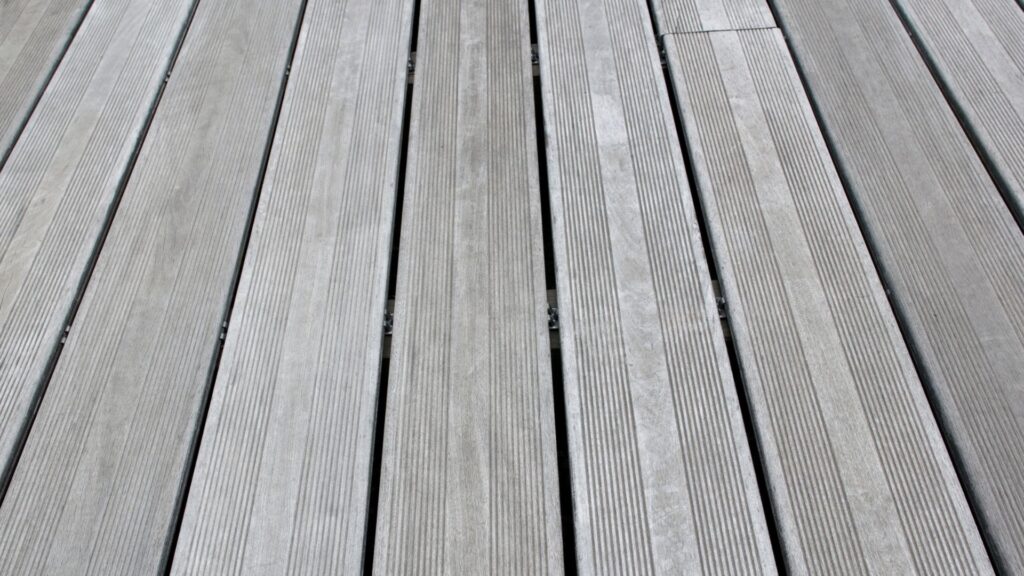
- Choosing the Type of Wood and Finish: Select a wood type that matches your aesthetic preferences and durability needs. Common options include cedar, pine, and redwood. Cedar is popular for its natural resistance to rot and insects, while pine is budget-friendly and easy to work with. Redwood offers a rich color and high durability but comes at a higher cost.
Finish your gate with a protective sealant or paint. This not only enhances the wood’s appearance but also protects it from weather damage. Opt for exterior-grade finishes to ensure long-lasting protection.
In summary, careful planning and preparation are key to building a gate that is both beautiful and functional. Measure accurately, design thoughtfully, and choose quality materials to ensure your gate stands the test of time.
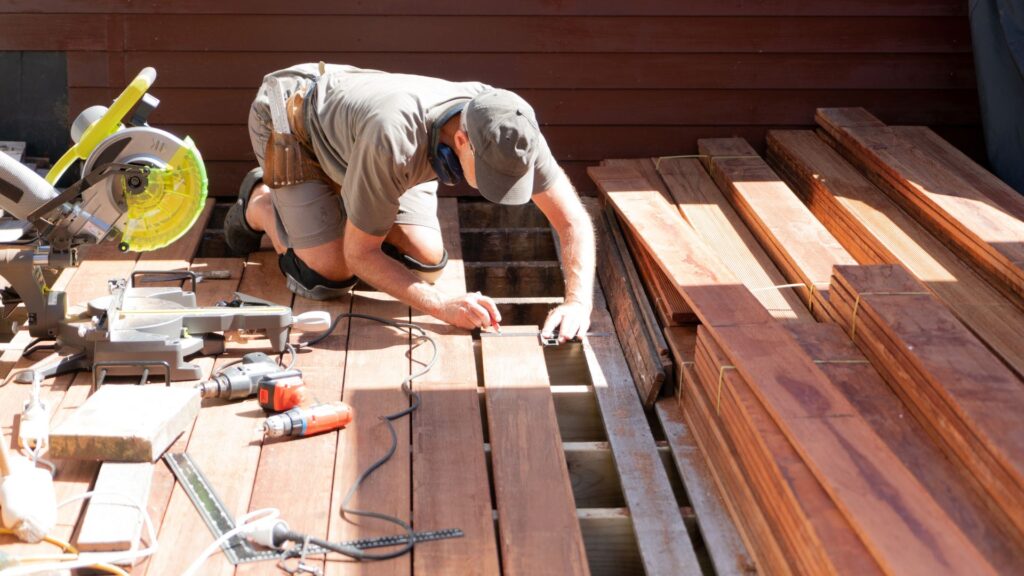
Building The Frame
Building the frame is a crucial step in any woodworking or construction project. It sets the foundation for the overall structure, ensuring stability and durability. Let’s dive into the details of this essential process.
Cutting the Wood
The first step in building the frame is cutting the wood to the correct sizes. This involves:
Cutting the Top, Bottom, and Side Pieces to Size
1. Measure Twice, Cut Once: Begin by accurately measuring the dimensions for the top, bottom, and side pieces of the frame. Use a tape measure for precision, and double-check your measurements before cutting.
2. Mark the Wood: Use a pencil to mark the cut lines on the wood. A straight edge or a carpenter’s square can help ensure that your lines are perfectly straight.
3. Cut the Wood: Using a saw, carefully cut along the marked lines. Whether you use a handsaw or a power saw, make sure to follow safety guidelines to prevent accidents. Smooth out any rough edges with sandpaper to ensure a clean finish.
Assembling the Frame
Once all the pieces are cut to size, the next step is to assemble the frame. This involves:
Laying Out the Frame Pieces on a Flat Surface
1. Choose a Flat Surface: Find a large, flat surface to lay out your frame pieces. This could be a workbench, a garage floor, or any area where you have ample space to work.
2. Arrange the Pieces: Lay out the top, bottom, and side pieces of the frame in their respective positions. Make sure the pieces align correctly and form a perfect rectangle or square, depending on your project.
Securing the Corners with Screws or Nails
1. Pre-drill Holes (Optional): To avoid splitting the wood, you might want to pre-drill holes where you will insert screws or nails. This step is especially useful for harder types of wood.
2. Fasten the Pieces Together: Use screws or nails to secure the corners of the frame. Ensure that each corner is tightly fastened to maintain the frame’s integrity. A power drill can make this task easier and faster.
Checking for Squareness Using a Level
1. Use a Carpenter’s Square: Place a carpenter’s square at each corner of the frame to check for 90-degree angles. Adjust the pieces if necessary to achieve perfect right angles.
2. Check with a Level: Lay a level across the frame to ensure it is even and flat. If the bubble in the level is centered, your frame is square. If not, make the necessary adjustments.
3. Final Tightening: Once you are satisfied that the frame is square, go back and ensure all screws or nails are securely tightened.
Building a frame might seem daunting at first, but with careful planning and precise execution, it can be a straightforward process. Following these steps will help you create a sturdy and reliable frame for your project, setting a solid foundation for whatever you plan to build next. Remember, the key to a successful frame lies in accurate measurements, secure fastening, and diligent checking for squareness.
Installing The Horizontal Slats
Installing horizontal slats on a gate can enhance its aesthetic appeal and provide a modern touch. This section will guide you through the process, ensuring your slats are perfectly aligned and securely attached.
Cutting the Slats
The first step in installing horizontal slats is to measure and cut them to fit within the frame of your gate. This requires precision to ensure that each slat fits snugly and aligns perfectly.
1. Measuring the Slats
- Start by measuring the width of the gate frame where the slats will be installed. Use a tape measure to get the exact dimensions.
- Measure the length twice to ensure accuracy, as incorrect measurements can lead to slats that are too short or too long.
2. Cutting the Slats
- Once you have the measurements, mark the cutting lines on the slats using a pencil and a straight edge.
- Use a saw to cut the slats along the marked lines. A circular saw or a miter saw can provide clean, straight cuts.
- Sand the edges of the cut slats to smooth out any roughness, ensuring they fit neatly within the frame.
Attaching the Slats
With the slats cut to the correct size, the next step is to attach them to the gate frame. This process should be done carefully to maintain even spacing and secure attachment.
1. Starting from the Bottom
- Begin by attaching the first slat at the bottom of the gate frame. This initial slat serves as the foundation for the rest of the slats, so it’s crucial to place it accurately.
- Ensure the bottom slat is level before securing it. Use a level tool to check this.
2. Using Spacers
- To maintain even gaps between each slat, use spacers. These can be small pieces of wood or plastic designed to create uniform spacing.
- Place the spacers on top of the first slat before positioning the next one. This ensures that each gap is consistent, giving the gate a professional and polished look.
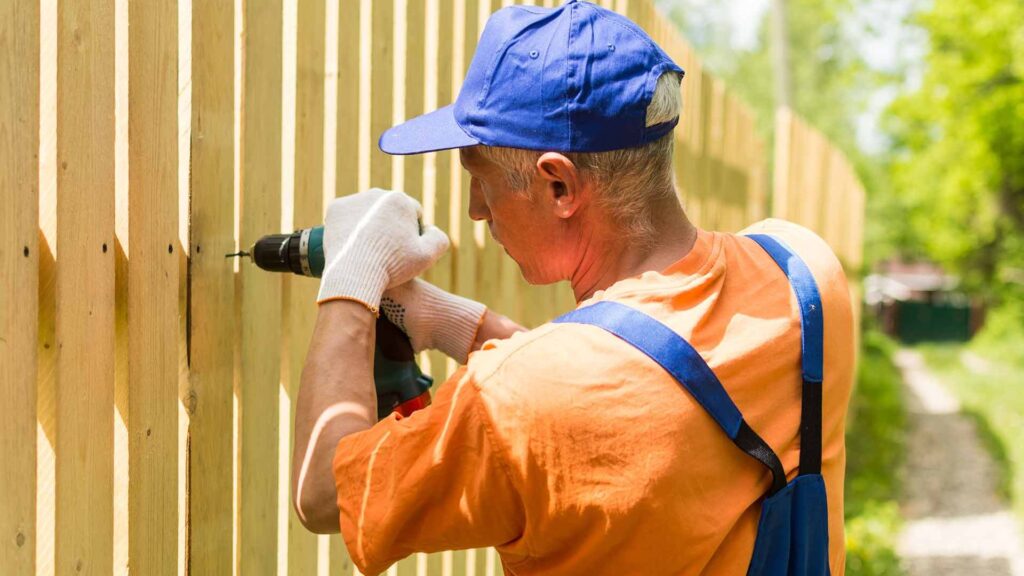
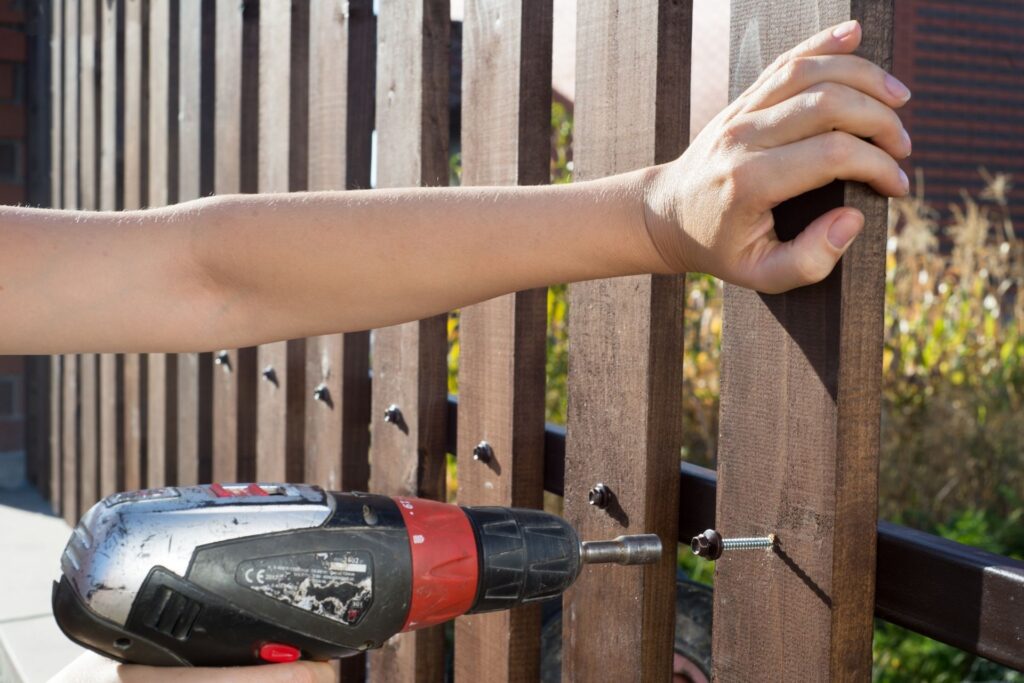
3. Securing Each Slat
- Attach each slat to the frame using screws or nails. Screws are often preferred for their strong hold and ease of adjustment if needed.
- Drill pilot holes through the slats and into the frame to prevent splitting the wood. Then, drive the screws through the holes to secure the slats.
- If using nails, ensure they are long enough to penetrate both the slat and the frame securely.
4. Working Your Way Up
- Continue the process of positioning spacers, aligning slats, and securing them with screws or nails.
- Work your way up from the bottom to the top of the gate, ensuring each slat is level and evenly spaced.
- Periodically check the alignment and spacing to maintain consistency.
By following these steps, you will achieve a neatly arranged and firmly attached set of horizontal slats, enhancing both the functionality and appearance of your gate. This methodical approach ensures durability and a professional finish that will stand the test of time.
Adding The Hardware
Installing Hinges
When it comes to installing hinges on your gate, selecting the right ones is crucial. The size and weight of your gate determine the type of hinges you’ll need. For heavier gates, opt for robust, heavy-duty hinges, while lighter gates can utilize standard hinges. This ensures your gate operates smoothly and lasts longer.
Before you start drilling, mark the positions for your hinges on both the gate and the post. Precision is key here; use a pencil and a ruler to ensure your marks are accurately placed. This step avoids any misalignment that could affect the gate’s functionality.
Next, drill pilot holes at your marked points. Pilot holes make it easier to drive in screws and prevent the wood from splitting. They should be slightly smaller than your screws to ensure a tight fit. Once your pilot holes are ready, align the hinges with these holes and attach them using screws. Make sure they are securely fastened to both the gate and the post, ensuring the gate swings freely and stays aligned.
Attaching the Latch and Handle
Proper positioning of the latch and handle is essential for both functionality and ease of use. Start by deciding where you want to place the latch. It should be easily accessible from both sides of the gate. Typically, this is at a comfortable height for most users, around waist level.
Once you’ve chosen the position, hold the latch in place and mark the spots where the screws will go. Like with the hinges, drilling pilot holes for the latch and handle is a good practice. It ensures the wood won’t split and makes the screws go in more smoothly.
After drilling the pilot holes, secure the latch and handle with screws. Ensure they are tightly fastened but not so tight that they restrict movement. The latch should open and close smoothly, allowing easy access while maintaining the gate’s security.
Adding the hardware to your gate is more than just a finishing touch; it’s what ensures your gate operates effectively and looks good. By carefully installing the hinges, latch, and handle, you guarantee that your gate will not only function well but also enhance the aesthetic appeal of your fence or garden.
Finishing Touches
In this section, we’ll cover the essential final steps to complete your gate project. These finishing touches ensure that your gate looks great and functions perfectly, providing both aesthetic appeal and durability. Let’s dive into the details of each step.
Sanding the Gate
Smoothing Any Rough Edges
Sanding is a crucial step in gate finishing. Begin by inspecting the gate for any rough edges or splinters. Use medium-grit sandpaper to smooth out these imperfections. This not only enhances the appearance but also prevents potential injuries from rough wood. Make sure to sand along the grain of the wood to avoid scratches and achieve a smooth surface.
Preparing the Wood for Staining or Painting
Once the rough edges are smoothed, switch to fine-grit sandpaper for a final pass. This step prepares the wood for staining or painting by opening up the pores, allowing for better absorption of the stain or paint. Wipe down the gate with a tack cloth to remove any dust created during sanding. This ensures a clean surface, ready for the next step.
Staining or Painting
Applying Stain or Paint for Protection and Aesthetics
Choosing between staining and painting depends on your desired look and the type of wood used. Staining enhances the natural grain, while painting provides a uniform color. Apply the stain or paint using a brush or roller, working in thin, even coats. Follow the manufacturer’s instructions for the best results. This protective layer shields the wood from the elements, preventing damage and extending the gate’s lifespan.
Allowing Adequate Drying Time
Patience is key during this step. Allow each coat of stain or paint to dry completely before applying additional coats. This typically takes several hours but can vary based on the product and weather conditions. Adequate drying time ensures a durable finish and prevents any sticky or tacky surfaces.
Final Inspection
Checking for Any Loose Screws or Nails
After the stain or paint has dried, perform a thorough inspection of the gate. Check for any loose screws or nails that might have been missed during assembly. Tighten them securely to ensure the structural integrity of the gate. This step is crucial for safety and longevity.
Ensuring the Gate Swings Freely and Latches Securely
Finally, test the gate to ensure it swings freely and latches securely. Adjust the hinges if necessary to achieve smooth operation. Check the latch mechanism to make sure it aligns properly and locks firmly. This final check ensures that your gate functions as intended, providing security and ease of use.
By following these detailed steps, you’ll complete your gate project with a professional finish that looks great and stands the test of time.
Maintenance Tips
Maintaining your wooden gate is crucial to ensuring its longevity and functionality. Regular upkeep not only keeps the gate looking great but also prevents potential issues from escalating into costly repairs. Here are some essential maintenance tips to keep your wooden gate in top condition:
Regular Inspection
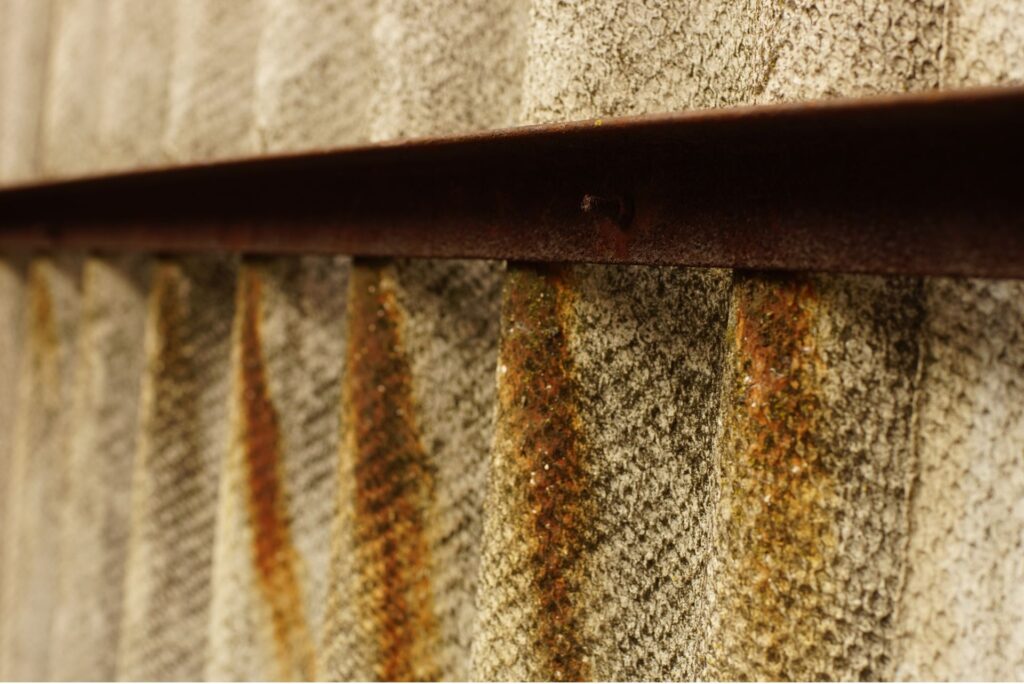
Checking for Signs of Wear and Tear
It’s essential to inspect your gate regularly for any signs of wear and tear. Look for cracks, splits, or any other damage that might have occurred due to weather or regular use. Pay close attention to the hinges and joints, as these areas are more prone to damage. Early detection of issues can save you from expensive repairs down the line.
Tightening Any Loose Hardware
Over time, the hardware on your gate, such as screws, bolts, and hinges, can become loose. Regularly check these components and tighten them if necessary. Loose hardware can lead to misalignment and may cause the gate to sag or not close properly. Keeping the hardware secure ensures smooth operation and extends the gate’s life.
Cleaning the Gate
Removing Dirt and Debris
Accumulated dirt and debris can not only make your gate look unsightly but can also cause damage over time. Regularly clean your gate by brushing off loose dirt and using a hose to wash away grime. Be thorough around the edges and the hardware, where dirt tends to accumulate. This simple step can prevent mold and mildew growth, which can deteriorate the wood.
Using Appropriate Cleaning Solutions
When it’s time for a more thorough cleaning, use cleaning solutions that are safe for wood. Avoid harsh chemicals that can strip the finish or damage the wood fibers. A mild soap solution or a specialized wood cleaner will do the job. After cleaning, rinse the gate thoroughly and allow it to dry completely before applying any treatments or finishes.
Reapplying Finish
Periodically Reapplying Stain or Paint
To protect your wooden gate from the elements, it’s important to periodically reapply stain or paint. This not only keeps the gate looking fresh but also provides a protective barrier against moisture, UV rays, and pests. Depending on the climate and the type of finish used, you might need to do this every few years. Before reapplying, make sure to sand down any rough spots and clean the surface thoroughly.
By following these maintenance tips, you can ensure that your wooden gate remains functional and aesthetically pleasing for years to come. Regular inspection, cleaning, and refinishing are simple tasks that can make a significant difference in the longevity of your gate, saving you time and money in the long run.
FAQs: About How To Build A Gate With Horizontal Slats
Conclusion
Building a gate with horizontal slats can be a rewarding DIY project that adds a modern touch to your home. Let’s recap the steps: first, gather all necessary materials and tools, then measure and mark the gate area to ensure accurate dimensions. Next, cut the slats to size and frame the gate, securing the horizontal slats evenly with screws or nails. Finally, sand and paint the gate to your desired finish for a polished look. Don’t be intimidated—embrace this project with confidence, knowing that your efforts will enhance your home’s curb appeal. If you decide to take on this project, we’d love to see your results; share your photos or experiences in the comments below! For more DIY and home improvement tips, follow us and stay inspired to tackle your next project.
About the Author:
Mike Veail is a recognized digital marketing expert with over 6 years of experience in helping tradespeople and small businesses thrive online. A former quantity surveyor, Mike combines deep industry knowledge with hands-on expertise in SEO and Google Ads. His marketing strategies are tailored to the specific needs of the trades sector, helping businesses increase visibility and generate more leads through proven, ethical methods.
Mike has successfully partnered with numerous companies, establishing a track record of delivering measurable results. His work has been featured across various platforms that showcase his expertise in lead generation and online marketing for the trades sector.
Learn more about Mike's experience and services at https://theleadguy.online or follow him on social media: