Welcome to our comprehensive guide on how to build a driveway gate! Whether you’re looking to enhance the security of your home, boost privacy, or simply add a touch of aesthetic appeal to your property, a well-designed driveway gate can make all the difference. In this guide, we will explore a variety of gate types—including swing and sliding gates—and delve into the pros and cons of both automatic and manual systems. We’ll also provide you with all the information you need on choosing the right materials that not only fit the style of your home but also meet your functional needs. Get ready to transform the entrance to your property with a gate that perfectly balances style, privacy, and security.
Building a driveway gate can enhance your home’s security and curb appeal. Start by choosing the right type: swing gates are ideal for wide entries, while sliding gates suit limited spaces. Measure your driveway accurately and select durable materials like wood, metal, or vinyl. The construction process involves setting sturdy posts, assembling the frame, attaching panels, and installing necessary hardware such as hinges and locks. Optionally, automate your gate with an electric opener for added convenience. Finish with protective paint or stain and consider surrounding landscaping to complement your new gate.
Table of Contents
Choosing The Right Type Of Driveway Gate
When it comes to enhancing the accessibility and security of your home, selecting the right type of driveway gate is crucial. The decision not only impacts the curb appeal of your property but also its functionality. Let’s explore the different types of driveway gates available, their advantages and disadvantages, and the environments each is best suited for.
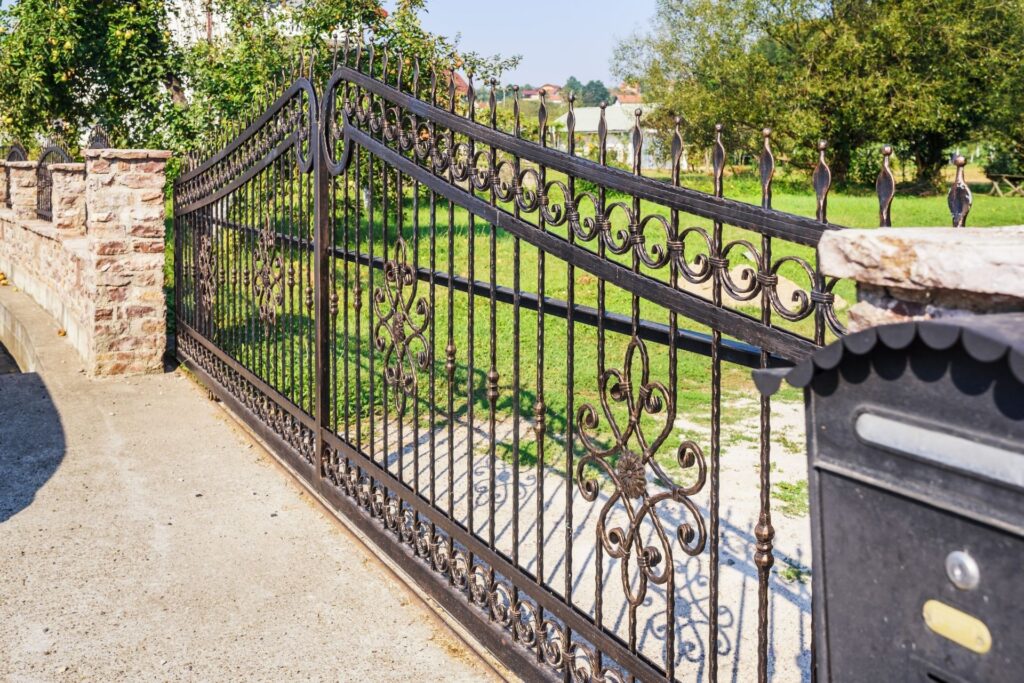
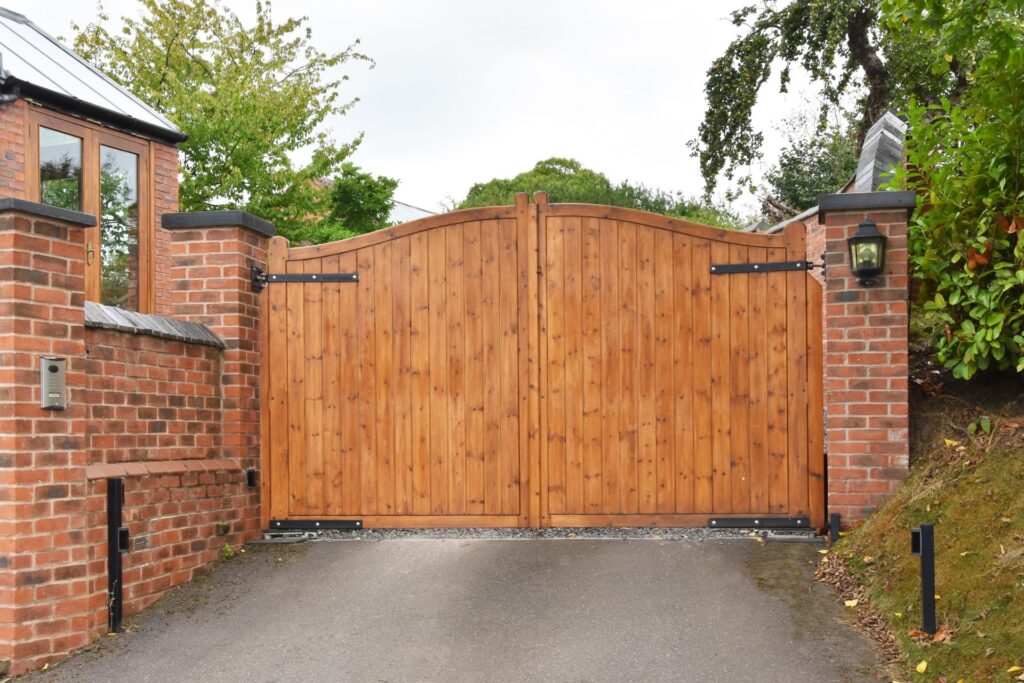
Swing Gates: Pros, Cons, and Suitable Environments
Pros
Swing gates are among the most common types of driveway gates. They offer a classic appearance that enhances the aesthetic of any property. These gates are relatively simple in design, which often leads to easier and less costly installation compared to more complex systems. Homeowners appreciate their reliability and the minimal maintenance required.
Cons
However, swing gates do require a significant amount of space to operate correctly. They need a clear area to swing inward or outward, which might not be ideal for properties with limited space directly in front of the gate. Additionally, if your driveway slopes upward from the gate area, swing gates may not be feasible as they would hit the ground when opened.
Suitable Environments
Swing gates are best suited for large, flat driveways where space is not an issue. They are ideal for rural or suburban homes that can accommodate the gate’s range of motion without obstructing the street or sidewalk.
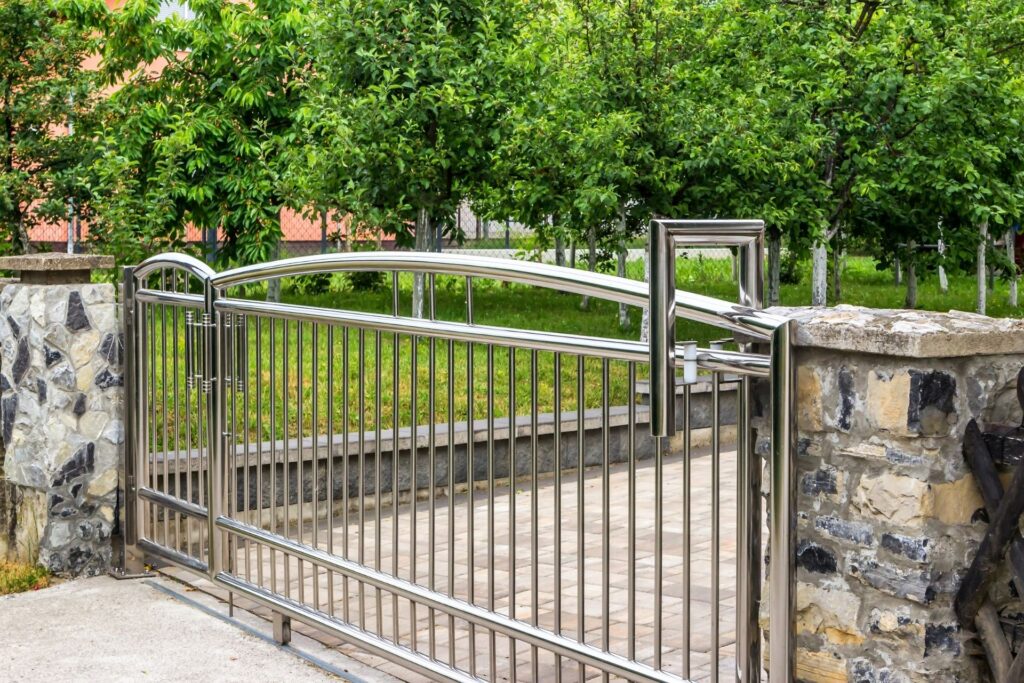
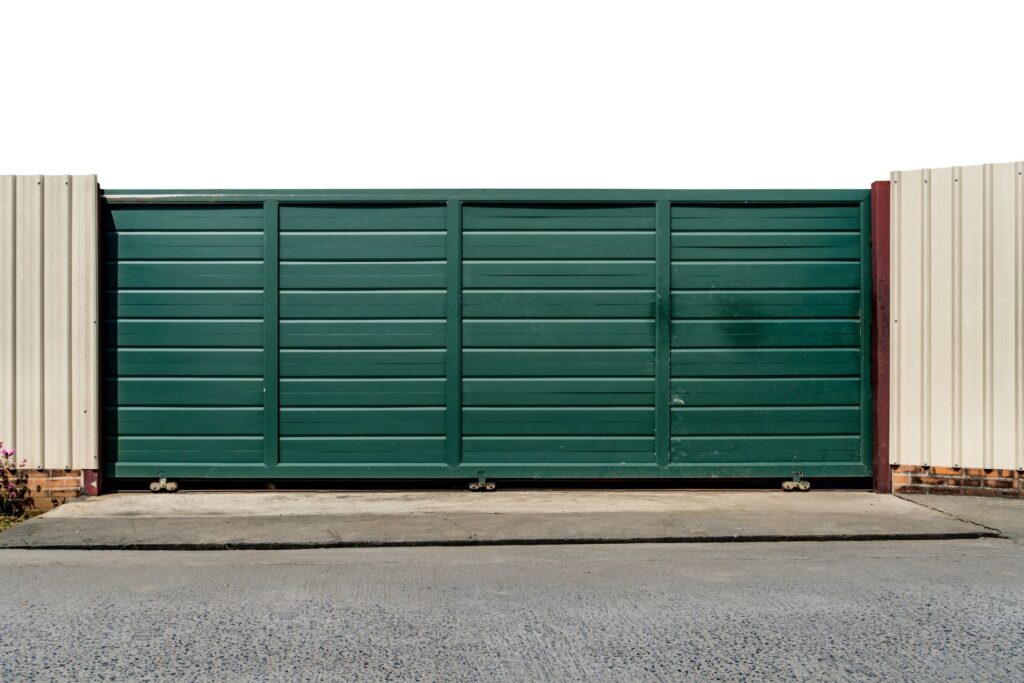
Sliding Gates: Benefits for Space-Limited Driveways, Required Mechanisms
Benefits
Sliding gates are the perfect solution for driveways where space is at a premium. Unlike swing gates, sliding gates move horizontally and require only minimal lateral space to operate. This makes them an excellent choice for urban homes or properties with short driveways. Their compact functionality does not compromise the security or the aesthetic appeal of the gate.
Required Mechanisms
To operate smoothly, sliding gates require a track and roller system. Installation can be more complex than swing gates, as it involves setting up the track either on the ground or suspended. The choice between these two depends on the gate design and the site conditions. Ensuring the track remains free of debris and obstruction is vital for maintaining the operational efficiency and longevity of the gate.
Automatic vs. Manual Gates: Comparison of Convenience and Cost Implications
Automatic Gates
The primary advantage of automatic gates is convenience. With just the click of a button, you can open or close your gate without having to leave your vehicle, a particularly welcome feature in inclement weather. Automatic gates also offer increased security features such as coded keypads, remote controls, and intercom systems for verifying visitors. However, these conveniences come at a cost. Automatic gates require a higher initial investment and ongoing power and potential maintenance costs.
Manual Gates
Manual gates, on the other hand, are more cost-effective and simpler in terms of installation and maintenance. They are ideal for those who prioritize budget over convenience. While they lack the high-tech features of automatic gates, they are reliable and can provide robust security if well constructed and equipped with a sturdy lock.
Choosing the right type of driveway gate involves considering your specific needs, the physical constraints of your property, and your budget. Whether you opt for the elegant simplicity of swing gates, the space-saving functionality of sliding gates, or the advanced features of automatic systems, ensure that your choice enhances both the security and the aesthetics of your home. With the right selection, a driveway gate can provide a seamless blend of functionality, security, and style.

Planning And Preparation
Embarking on the journey to build your own driveway gate is not just about enhancing your property’s curb appeal; it’s also a practical project that can boost security and increase property value. Before the first post is set or the first nail is driven, proper planning and preparation are key to ensuring the success of your DIY gate project. Here’s a detailed guide to get you started.
Measuring Your Driveway
The first crucial step in planning for a driveway gate is accurately measuring the space where the gate will be installed. To avoid common pitfalls and ensure that your gate fits perfectly, follow these step-by-step instructions:
1. Clear the Area: Remove any debris, stones, or obstacles along the driveway edges where the gate will be placed.
2. Use the Right Tools: Arm yourself with a measuring tape, a notepad, and maybe a helper to ensure measurements are accurate.
3. Measure the Width: Stretch the measuring tape across the opening of your driveway from one end to the other at the point where the gate will be installed. Record this measurement as the total width. It’s often wise to measure at both the top and bottom in case of any discrepancies caused by sloping.
4. Check for Symmetry: If you’re planning a two-panel gate, divide the total width by two to get the size for each gate panel. Ensure there is a little extra space for the gate hardware and opening mechanism.
5. Vertical Measurements: Measure the height at which you want the gate to be. Consider the clearance needed at the bottom for various driveway surfaces during different weather conditions.
These measurements will guide the entire project, influencing the size of materials purchased and the layout of the gate.
Selecting Materials
Choosing the right materials for your driveway gate not only defines its look but also its durability and maintenance needs. Here are the most common materials used:
- Wood: Offers a classic, natural look and can be customized easily with stains and designs. However, it requires regular maintenance such as painting or sealing to protect against weather elements.
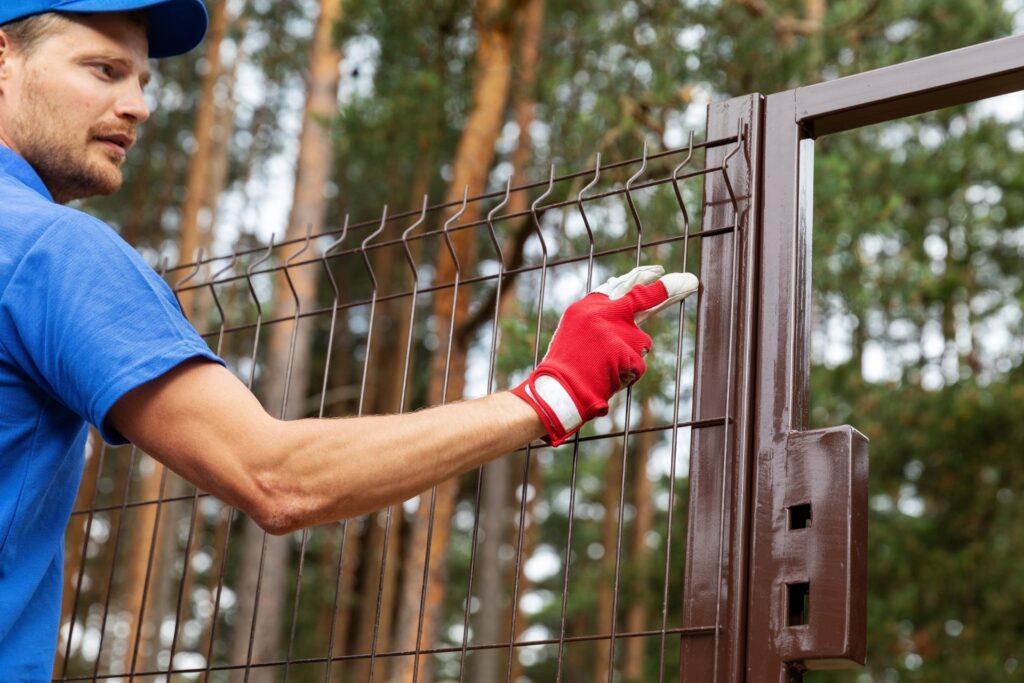
- Metal: Iron or aluminum gates are highly durable and offer a sophisticated, robust appearance. They are more resistant to weather damage but can be pricier and heavier, which might affect the choice of supportive posts and hinges.
- Vinyl: A low-maintenance alternative that resists weathering and decay. Vinyl gates can mimic the appearance of wood but provide a longer lifespan without the need for frequent upkeep.
Consider factors such as local climate, the style of your property, and long-term maintenance when choosing the material for your gate.
Tools and Supplies Needed
To ensure you have everything needed for a smooth installation, compile a checklist of tools and supplies beforehand. Essential items include:
- Measuring Tape and Level: For precise measurements and ensuring everything is evenly aligned during installation.
- Saw: Depending on the material, a wood saw or a metal grinder will be necessary to cut your materials to size.
- Drill and Screws: For assembling the gate panels and attaching them to the posts.
- inges and Latches: Heavy-duty gate hinges and a robust latch are crucial for the functionality and security of the gate.
- Posthole Digger and Concrete: For setting the gate posts firmly in the ground to support the weight of the gate.
Gathering all materials and tools before beginning your project will help minimize disruptions and ensure a seamless workflow from start to finish.
By carefully measuring your space, selecting the right materials, and preparing all the necessary tools and supplies, you’ll set the foundation for a successful driveway gate installation that enhances both the functionality and aesthetics of your home.

Design Considerations
When planning to build a driveway gate, it’s crucial to blend functionality with aesthetics to enhance your home’s curb appeal while meeting your security and privacy needs. Here’s a detailed exploration of key design considerations to keep in mind:
Aesthetic Harmony: Choosing a Gate That Complements Your Home’s Architecture
A driveway gate is more than just a functional entryway; it sets the tone for your property’s visual appeal and can significantly enhance your home’s architectural style. When selecting a gate design, consider the architectural elements of your home. Are the lines and shapes predominantly modern with minimalistic features, or does your home exude a classic vibe with intricate woodwork or stonework?
To achieve aesthetic harmony, align the gate’s design elements with those of your house. For example, if your home features wrought iron balconies or ornate fixtures, a wrought iron gate with similar patterns could be perfect. Conversely, for a modern home, you might opt for a sleek, simple gate with clean lines and an uncluttered appearance. Consider the color scheme of your home and choose gate materials and colors that complement or thoughtfully contrast with your home’s exterior.
Functional Requirements: Ensuring Your Gate Meets Practical Needs
The functionality of your driveway gate is paramount. It needs to operate smoothly, withstand the elements, and provide the necessary security. Consider the following aspects:
- Weight and Durability: The material you choose affects both the weight and durability of the gate. Heavy materials like iron or steel are durable and offer high security but may require more robust and often more expensive support mechanisms. Lighter materials such as aluminum or wood might be easier to handle and install but could require more maintenance.
- Opening Mechanism: Decide whether you want a manual or an automatic gate. Automatic gates provide convenience and enhanced security but come with higher initial costs and maintenance requirements. If you choose an automatic gate, consider the type of opener that best fits your needs, such as swing, slide, or overhead.
- Security Features: High-security locks, intercom systems, and integrated camera systems can add an extra layer of security to your driveway gate. Evaluate your security needs based on your locality and personal preferences to decide on the right features.
Privacy vs. Openness: Finding the Right Balance
The design of your gate also plays a crucial role in how much privacy it offers versus how open it appears. This balance will largely depend on your personal preferences and the specific demands of your property’s layout and location.
If privacy is a major concern, solid gate designs or those with minimal gaps offer the best solution, shielding your property from the eyes of passersby and neighbors. Materials like wood or metal panels are popular for privacy-focused designs. However, keep in mind that such gates can make the entrance feel more closed off and might require additional safety measures, like adequate lighting and visibility for incoming and outgoing traffic.
On the other hand, if you prefer a more open and welcoming feel, consider gates with bars, wrought iron designs, or even a combination of solid and open elements. These options provide a level of security without completely blocking the view of your home’s facade. This can be particularly appealing in scenic areas where you might want to showcase your landscaping or architecture.
In conclusion, building a driveway gate involves a thoughtful consideration of aesthetic harmony, functional requirements, and the balance between privacy and openness. By carefully planning and choosing the right materials, design, and features, you can ensure that your driveway gate not only enhances the beauty of your home but also fulfills your practical needs for security and convenience. Always consult with a professional to help guide your choices and ensure that your gate serves you well for years to come.

Step-By-Step Guide To Building A Driveway Gate
Building a driveway gate can significantly enhance the curb appeal and security of your property. Whether you’re a DIY enthusiast or a homeowner looking to tackle a new project, this step-by-step guide will help you construct a sturdy and aesthetically pleasing driveway gate from the ground up.
Setting the Posts
The foundation of any gate is its posts. Proper installation is crucial to ensure the gate functions correctly and withstands the test of time. Start by determining the placement of your gate and mark the locations for the posts. You’ll need to dig post holes—typically about one-third the length of the post and 12 inches in diameter. Use a post-hole digger or an auger to make this job easier and more precise.
Once your holes are dug, position the posts, checking that they are perfectly vertical with a level. It’s vital to set the posts in concrete for stability; pour the concrete mix into the hole around the post until it’s just below ground level. Ensure the posts are level and properly aligned with each other before the concrete sets. This step is crucial as misaligned posts can cause issues with the gate’s functionality. Allow the concrete to cure according to the manufacturer’s instructions, usually 24-48 hours.
Assembling the Gate Frame
With your posts set, next is the gate frame, which will support the entire structure. Use pressure-treated wood or metal for the frame to ensure durability. Cut the materials to size according to your gate design, ensuring all pieces fit together snugly.
When assembling the frame, use heavy-duty brackets and screws designed for outdoor use to prevent rust and corrosion. Check each joint with a square to ensure they are at perfect right angles. A well-built frame should not only be sturdy but also proportionate and visually pleasing, as it forms the skeleton of your finished gate.
Attaching the Panels
Once the frame is ready, you can start attaching the panels. This can be wooden planks, metal grills, or even artistic metalwork, depending on the desired aesthetics and functionality. If you choose wood, ensure it’s treated or suitable for outdoor use to prevent decay.
Begin by measuring and cutting the panels to fit within the frame. Attach each panel securely to the frame, using screws or bolts that are appropriate for the material. For wooden panels, pre-drilling holes can prevent the wood from splitting. Consider adding decorative elements such as trim or ironwork to enhance the gate’s appearance and give it a personal touch.
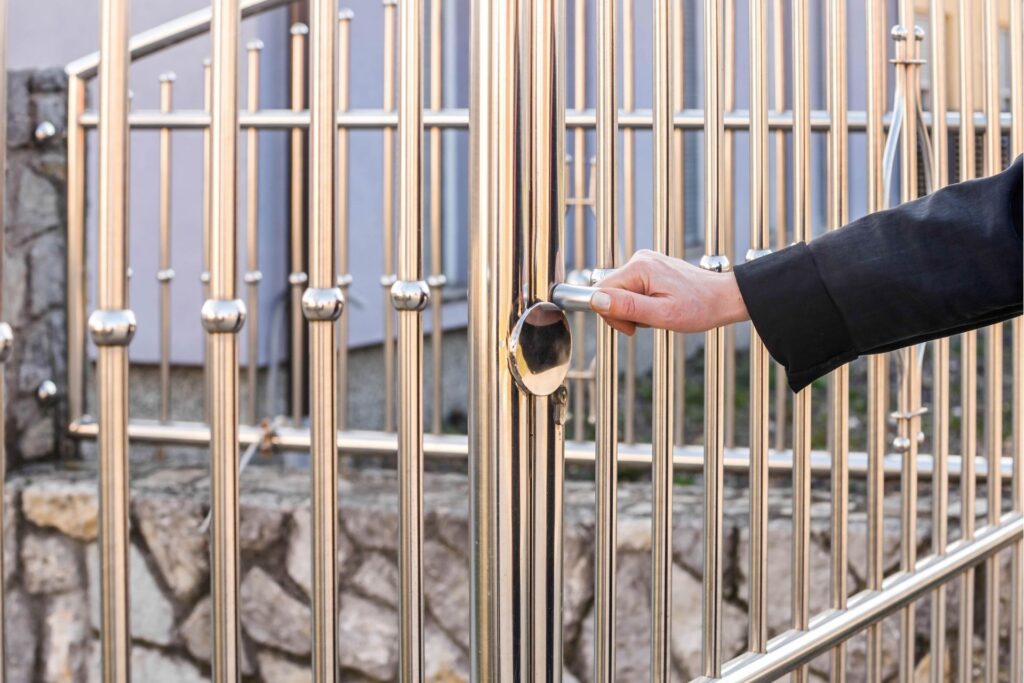
Installing the Hardware
The final step is installing the hardware, which includes hinges, locks, and handles. Select heavy-duty hinges that can support the weight of the gate without sagging. Attach the hinges to the gate first, then align them with the posts. It’s important to ensure the gate opens smoothly and aligns correctly when closed.
Choose a lock mechanism that provides the security level you need, and install it according to the manufacturer’s instructions. Weather-resistant hardware made from materials like stainless steel or coated metals will ensure longevity and functionality, even in harsh weather conditions.
By following these detailed steps, you can build a driveway gate that not only enhances your home’s security but also boosts its curb appeal. Remember, the key to a successful project lies in careful planning, precise measurements, and choosing the right materials for the job.
Adding An Automation System (Optional)
Automating your driveway gate not only enhances convenience but also boosts security and property value. If you’re considering adding an automation system, here’s a detailed guide to help you through the process, from choosing the right opener to troubleshooting common issues.
Choosing the Right Opener
Selecting the appropriate gate opener is crucial for ensuring smooth operation and longevity. Gate openers vary depending on the type of gate you have—be it sliding, swinging, or dual. The weight and size of your gate also play pivotal roles in your choice. Here are the common types of gate openers:
- Swing Gate Openers: Ideal for gates that open inward or outward. Choose a model based on the weight capacity it can handle, which directly correlates to the durability of the opener.
- Sliding Gate Openers: Best suited for gates that move left or right. These require a track system and are perfect for gates made from heavier materials.
- Solar-Powered Openers: An excellent option for environmentally conscious homeowners. These work well in areas with ample sunlight and reduce dependence on electrical power.
When choosing a gate opener, consider additional features such as remote access, speed of operation, and compatibility with smart home systems for enhanced usability.
Installation Tips
Proper installation is key to the efficient functioning of your automated gate. Here are some tips to ensure a smooth installation:
- Power Source: Ensure that your gate opener is connected to a reliable power source. If you opt for a solar-powered model, position the solar panels where they will receive maximum sunlight throughout the day.
- Safety Features: Safety should never be compromised. Install safety sensors that can detect obstacles to prevent the gate from closing on a vehicle or, more importantly, a person. Consider adding an auto-close feature that ensures the gate closes automatically after it has been opened.
- Professional Installation: While DIY installation is possible with some kits, hiring a professional is recommended for complex setups. This ensures that all components are installed correctly and functioning as expected.
Troubleshooting Common Issues
Even with the best installation, issues can arise. Here are some common problems with automatic gate openers and tips on how to fix them:
- Gate not opening or closing: Check for obstructions in the gate’s path or issues with the power supply. Resetting the system can sometimes resolve electronic glitches.
- Noisy operation: If your gate opener becomes noisy, it might be due to loose hardware or insufficient lubrication. Tightening all visible screws and applying lubricant to the moving parts can help reduce noise.
- Remote control malfunctions: If the remote control isn’t working, try replacing the batteries or reprogramming the remote to sync with the gate opener.
Regular maintenance, such as checking the hardware for wear and tear and ensuring that the track is free from debris, can prevent many of these issues from arising.
By following these guidelines, you can enhance your driveway gate with a suitable automation system that offers convenience and security. Whether you choose to install it yourself or hire a professional, ensuring proper setup and maintenance is key to enjoying the benefits of an automated gate system.

Finishing Touches
When it comes to completing your gate installation, the finishing touches are just as important as the structural components. Not only do these final steps enhance the gate’s functionality and longevity, but they also elevate its aesthetic appeal and ensure it blends seamlessly with your home’s overall landscape. Here, we’ll delve into two key aspects of finishing touches: painting and staining, and landscaping around the gate.
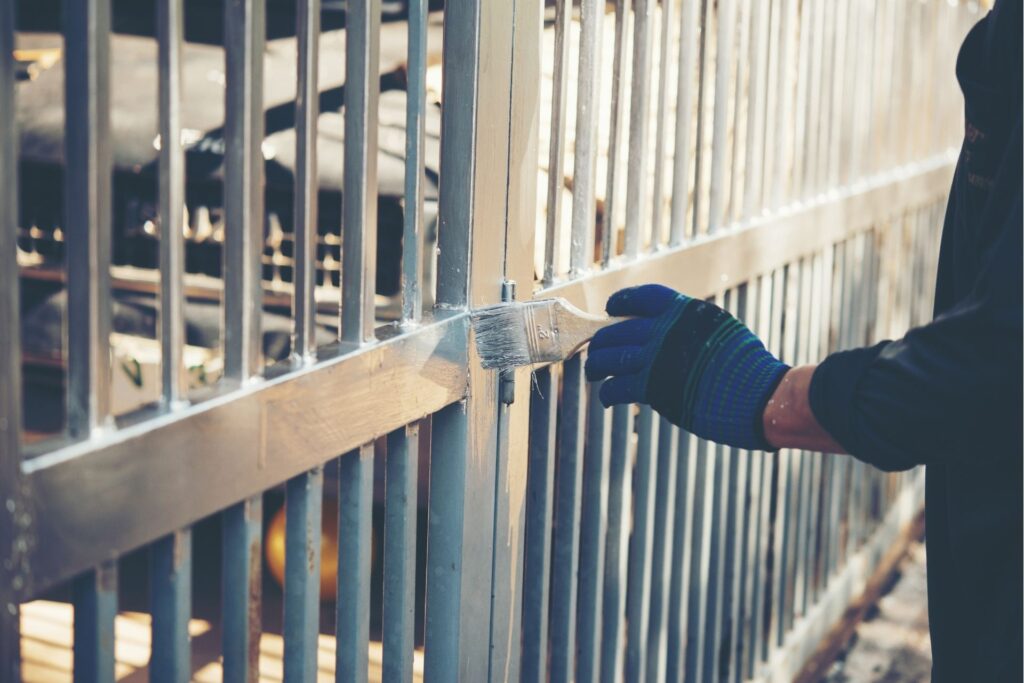
Painting and Staining
Choosing the right paint or stain for your gate is crucial, not only for its appearance but also for protecting it from the elements. Here’s a step-by-step guide to help you make the best choice:
1. Evaluate the Material: The type of material of your gate affects which products you should use. Wood gates require different care than metal ones. For wood, a stain might be preferable to maintain the natural texture, while a paint could be better for metal gates to prevent rust.
2. Consider the Weather: Your local climate plays a significant role in this choice. Areas with high humidity levels demand products with mold and mildew resistance. In contrast, sun-exposed gates need UV protection to prevent fading.
3. Match Your Home’s Style: The color and finish should complement your home’s exterior. A color wheel can be helpful here to find complementary shades that enhance both your gate and your home’s façade.
4. Choose Quality Products: Opt for high-quality paints or stains as they tend to last longer and provide better protection against weathering. Although they may come at a higher price point, the long-term benefits justify the investment.
5. Application Tips: Ensure the surface is clean and smooth before applying any paint or stain. Applying a primer can enhance the adherence and longevity of the topcoat. Always follow the manufacturer’s instructions for the best results.
Landscaping Around the Gate
Landscaping around the gate not only enhances its beauty but also integrates it into the overall garden theme. Here are some ideas to inspire you:
1. Flanking with Flora: Planting shrubs or flowering plants on either side of the gate creates a welcoming entrance. Consider evergreens for year-round greenery or seasonal blooms that complement the colors of your gate.
2. Adding Lighting: Illuminate your gate with landscape lighting to enhance visibility at night and add a touch of elegance. Solar-powered lights are a sustainable option that can be placed along pathways or near the gate itself.
3. Pathway Integration: Ensure that the pathway leading to and from the gate is well-integrated with your overall landscaping. Natural stone or pavers can offer both aesthetic appeal and functionality.
4. Topiary Art: For those who enjoy manicured gardens, adding topiary elements near the gate can create a sophisticated look. Shapes that mimic the lines of the gate or abstract designs can add visual interest.
5. Accessorize: Elements such as a trellis or a small fence can be added around the gate to enhance the sense of entry. These accessories can also support climbing plants or vines, adding texture and depth to your gate area.
By focusing on these finishing touches, you not only protect and prolong the life of your gate but also enhance its role as a key element of your home’s curb appeal. Whether through careful selection of painting and staining products or thoughtful landscaping designs, these efforts contribute to a cohesive and inviting exterior space.
Maintenance And Upkeep
Maintaining and caring for your driveway gate is crucial to ensure it operates efficiently and lasts for many years. Here’s a detailed guide on how to conduct routine checks and manage the cleaning and repairing of your driveway gate, which will help in preserving its functionality and aesthetic appeal.
Routine Checks: Ensuring Longevity and Functionality
Regular inspections are key to the longevity and functionality of your driveway gate. By scheduling routine checks, you can catch issues before they become costly problems. Here are some specific things you should regularly inspect:
1. Hinges and Hardware: Check for any loose screws, bolts, or hinges. These should be tightened and lubricated periodically to ensure smooth operation.
2. Gate Alignment: Make sure the gate hasn’t shifted or sagged, which can happen due to weather conditions or regular use. If the gate is misaligned, it may not close properly.
3. Motor and Electronics: For automatic gates, it’s important to check the motor and control electronics. Look for signs of wear and tear and listen for any unusual noises during operation. Ensure that the sensors are free of debris and obstructions.
4. Surface Inspection: Look for signs of rust, peeling paint, or other corrosion on metal gates, and check for splintering or rot on wooden gates. Early detection and treatment can prevent further damage.
By conducting these routine inspections, you can help extend the life of your driveway gate and ensure it remains a functional and stylish part of your home.
Cleaning and Repairing: Keeping Your Gate Pristine
Keeping your driveway gate clean not only enhances its appearance but also prevents long-term damage caused by dirt and debris. Here are some tips on cleaning different materials and making minor repairs:
1. Metal Gates: Use a mild soap and water solution to clean metal gates. For rust or corrosion, use a wire brush to gently remove it, then apply a rust-inhibiting primer and repaint the affected area. Regularly applying a protective wax can also help prevent rust.
2. Wooden Gates: Wooden gates can be cleaned with a soft brush and a mild detergent solution. Check for signs of rot or insect damage, and treat with wood preservatives. If the paint or sealant has begun to chip, sand the area lightly before reapplying a fresh coat of paint or sealant.
3. Vinyl Gates: Vinyl is relatively low-maintenance. Clean with a hose and a soft cloth or brush, using a mild detergent if necessary. Avoid abrasive cleaners which can scratch the vinyl.
4. Minor Repairs: Tighten any loose components and replace damaged hardware. For automatic gates, ensure that the electronic components are dry and well-protected from the elements. If you’re not comfortable performing any electrical repairs, it’s wise to hire a professional.
Regular cleaning and timely repairs not only keep your driveway gate looking good but also ensure it functions properly each time you use it. Remember, preventive care is always less costly than major repairs, so don’t skip on these maintenance routines.
By integrating these maintenance tasks into your routine, you can significantly extend the life and improve the functionality of your driveway gate, adding both security and curb appeal to your property.
FAQs: About How To Build A Driveway Gate
What are the different types of driveway gates I can build?
There are mainly two types: swing gates and sliding gates. Swing gates open inward or outward, requiring clear space in the direction of the swing, whereas sliding gates move left or right along a track and are ideal for driveways with limited space.
What materials are best for driveway gates?
Common materials include wood, which offers a classic look, metal for strength and durability, and vinyl for low maintenance and weather resistance. The choice depends on your budget, climate, and style preferences.
How do I measure my driveway for a gate?
Measure the width of the driveway where you plan to install the gate. Include space for any posts and additional clearance required for the gate’s operation. Ensure the ground is level or make adjustments as necessary.
What tools will I need to build a driveway gate?
Typical tools include a tape measure, level, saw, drill, screwdriver, and possibly a cement mixer for installing posts in concrete. Specific tools may vary based on the gate material and design.
Can I install an automatic opener on any driveway gate?
Most driveway gates can accommodate an automatic opener, but ensure the opener is compatible with the weight and type of your gate. Professional installation might be required for optimal safety and functionality.
How do I ensure my driveway gate is secure?
Install high-quality locks and consider integrating your gate with your home security system. Additionally, ensure the gate’s design does not allow easy climbing or access.
What routine maintenance should I perform on my driveway gate?
Regularly check and lubricate moving parts, inspect for damage or wear, and treat or paint the material as needed to prevent rust and weather damage. Check the alignment and balance of the gate, especially after severe weather.
How do I choose the right design for my driveway gate?
Consider the architectural style of your home and select a gate design that complements it. Also, think about the desired level of privacy and security when choosing the design and material.
Are there legal considerations when installing a driveway gate?
Check local zoning laws and homeowners association rules, as there may be regulations regarding the height, design, or type of gate allowed. You may also need to obtain a building permit.
How long does it take to build and install a driveway gate?
The time can vary significantly based on the complexity of the design and the installation process. Simple gates may take a day or two, while more complex installations with automatic systems and custom designs may take several days.
Conclusion
In conclusion, building a driveway gate is a multi-step process that demands careful planning and execution. From selecting the right materials to ensuring precise measurements and proper installation, each phase plays a crucial role in creating a durable and functional gate. As you embark on this project, remember to infuse your personal touch into the design. Tailoring the gate to reflect your style and meet your specific needs not only enhances the curb appeal of your property but also increases its functionality. By paying attention to both the technical and aesthetic aspects, you can achieve a result that not only secures your property but also complements your home’s overall look and feel.
About the Author:
Mike Veail is a recognized digital marketing expert with over 6 years of experience in helping tradespeople and small businesses thrive online. A former quantity surveyor, Mike combines deep industry knowledge with hands-on expertise in SEO and Google Ads. His marketing strategies are tailored to the specific needs of the trades sector, helping businesses increase visibility and generate more leads through proven, ethical methods.
Mike has successfully partnered with numerous companies, establishing a track record of delivering measurable results. His work has been featured across various platforms that showcase his expertise in lead generation and online marketing for the trades sector.
Learn more about Mike's experience and services at https://theleadguy.online or follow him on social media: